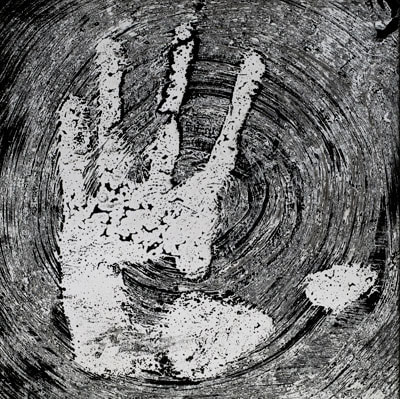
Photograms
Photograms themselves are photos that are produced without the need of a camera. They are done so by placing things onto a light sensitive surface, usually photo paper, then exposing them to light.

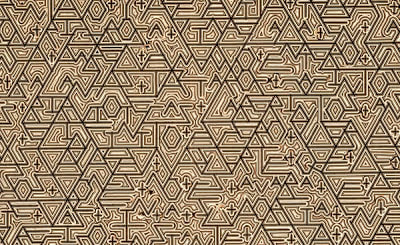
Rayograms
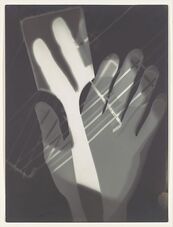
Man Ray
|
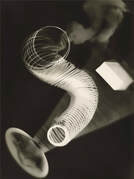
Man Ray was the pioneer of using photograms in an artistic sense. He would do the exact same method as usual, however, would expose the paper three times with different objects on the paper each separate. He first began this in 1921, leading many other artists to follow his footsteps in this specific field. One example would be Held Helmer-Petersen, he would put more obscure objects onto the paper to create somewhat abstract images. An example would be using an object and using the negative rather than the positive, this made the object in black and the background white. Man Ray would use a selection of different objects which created a range of different effects. For example, more opaque objects like plastic would make a somewhat ghostly feel to the image in the way that the light would go through the objects, not fully, and reach the paper with less light intensity that if the light were to directly meet the paper. The reason why his use of photograms are named rayograms is because, as stated before, he was the pioneer in using photograms artistically.
|
|
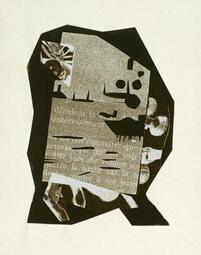
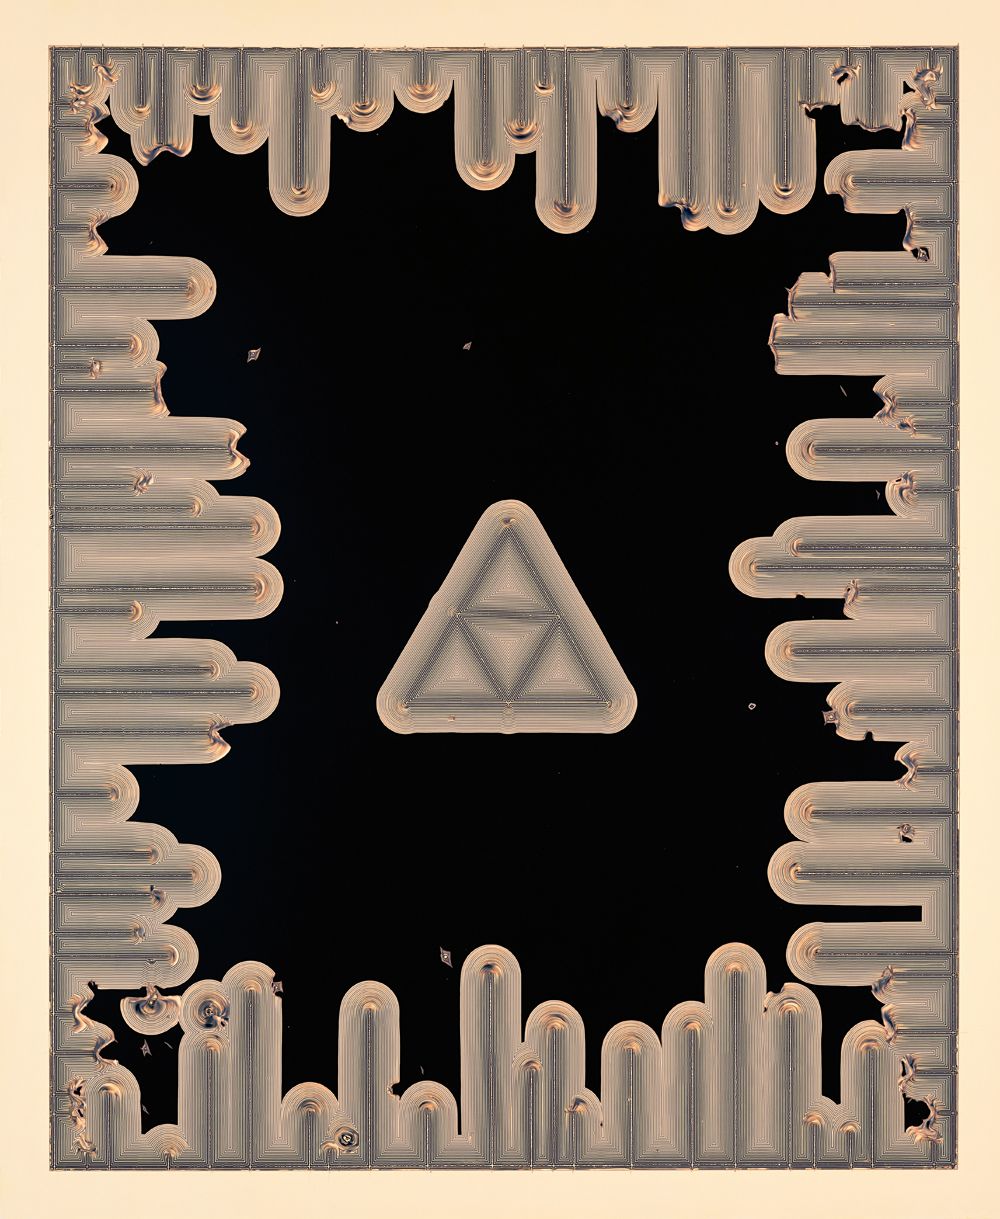
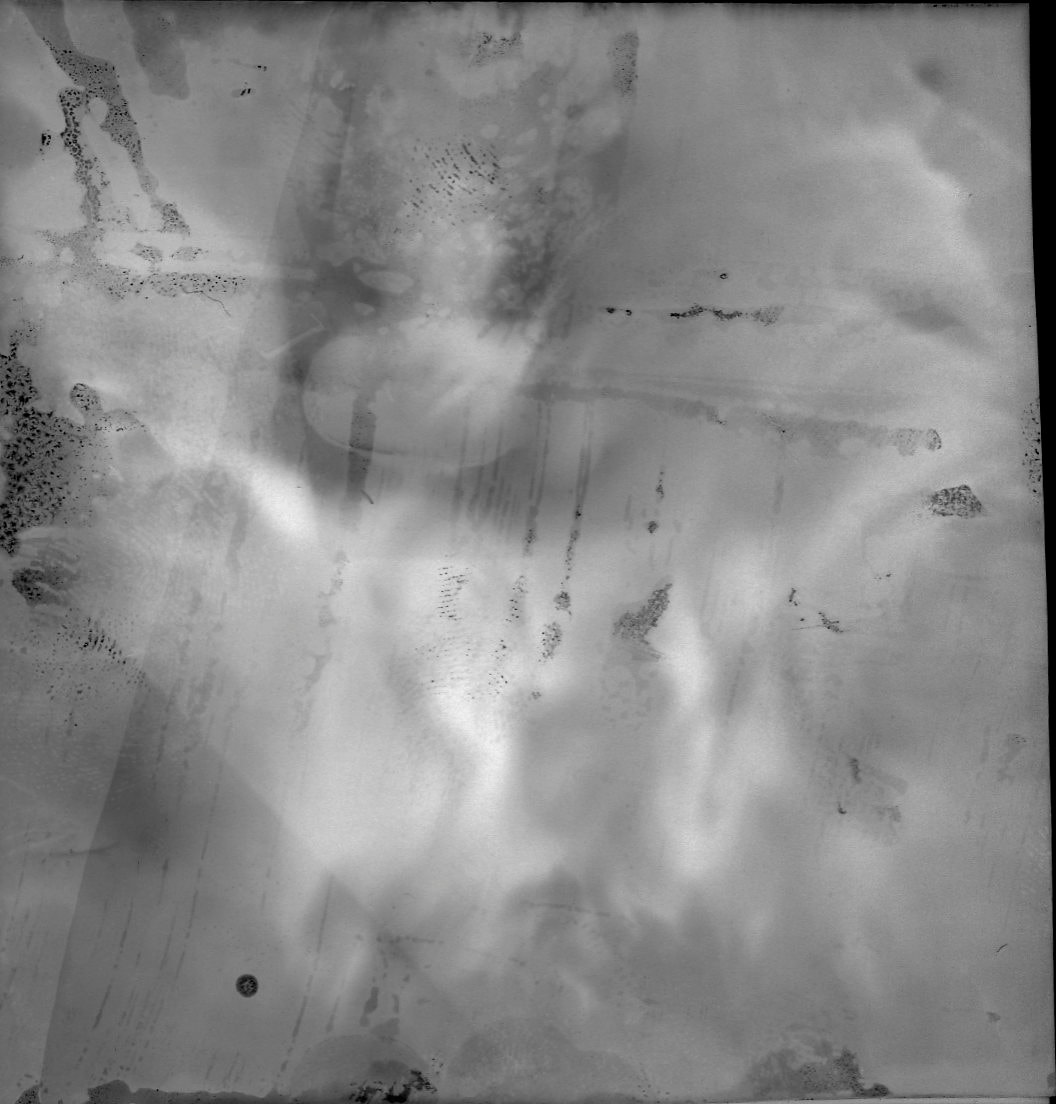
Schadographs
Christian Schad
|
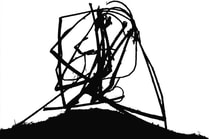
Schadographs are an example of the earliest intentionally abstract photographs. Similar to photograms, they are made by placing objects on light sensitive paper and allowing the paper to be exposed by light. Schad would do the same, however he would use rougher materials and more of a variety of materials. He would use objects from the street and bins instead of what others would later do in using smoother objects. Instead of using a proper light be would use light from his windowsill. He would also cut the edges of the photograms to ''free them''. His inspiration for these types of photograms was the artistic movement named cubism. Cubism consists of having a subject or multiple subjects in a painting being fragmented and disrupted by sharp lines. The most famous artist to engineer the avant-garde movement was Pablo Picasso, with his famous works that would almost jumble up faces and mix unexpected colours.
|
|
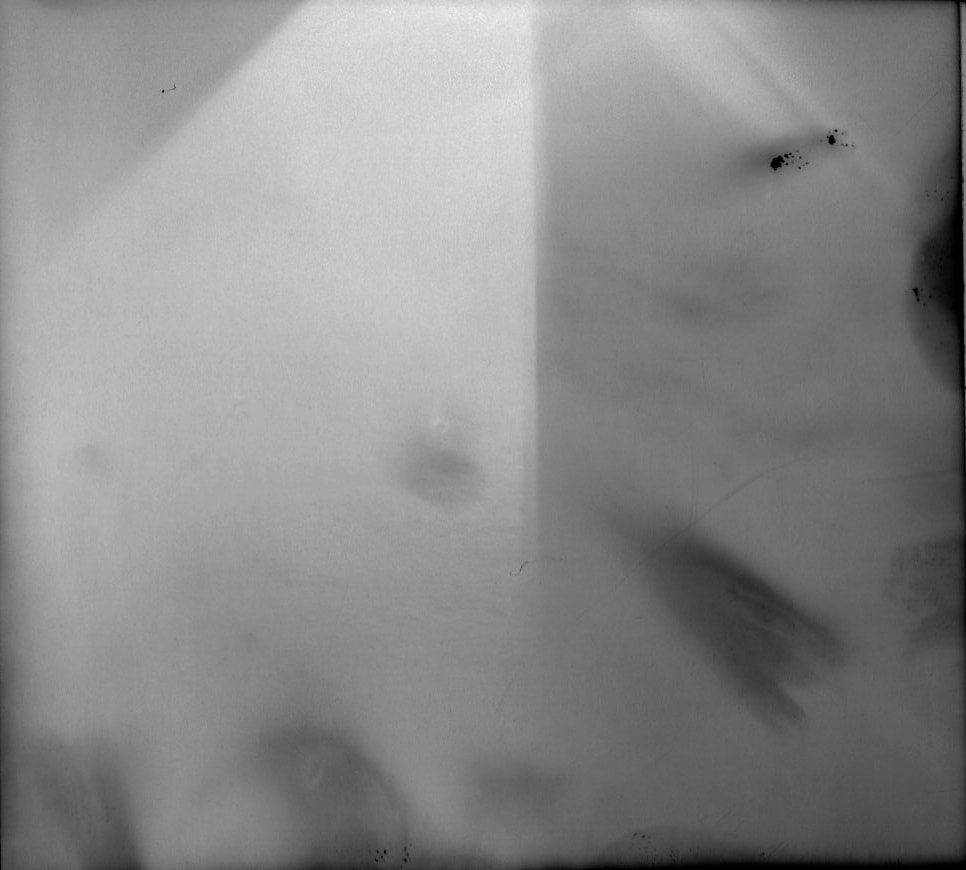
Laszlo Moholy-Nagy
Photograms
|
Similar to the other artists above, Moholy-Nagy would use light sensitive paper and place objects onto it and expose it to light. He would layer the paper and re-expose it to create these layers which for its time was impressive. The use of photograms soon became an amusement for children, this soon changed in the 20th century with avant-garde artists using it for their artistic purposes. This way of photography allowed for a new type of freedom in a way which normal, more conventional techniques wouldn't allow. Moholy-Nagy mentioned at the time that photography incorporates paiting and even transcends it in some senses.As well as being a photographer, he was a painter and a professor in the Bauhaus school. He was also heavily influenced by costructivism and would urge people to use technology and industry in arts.
|
|
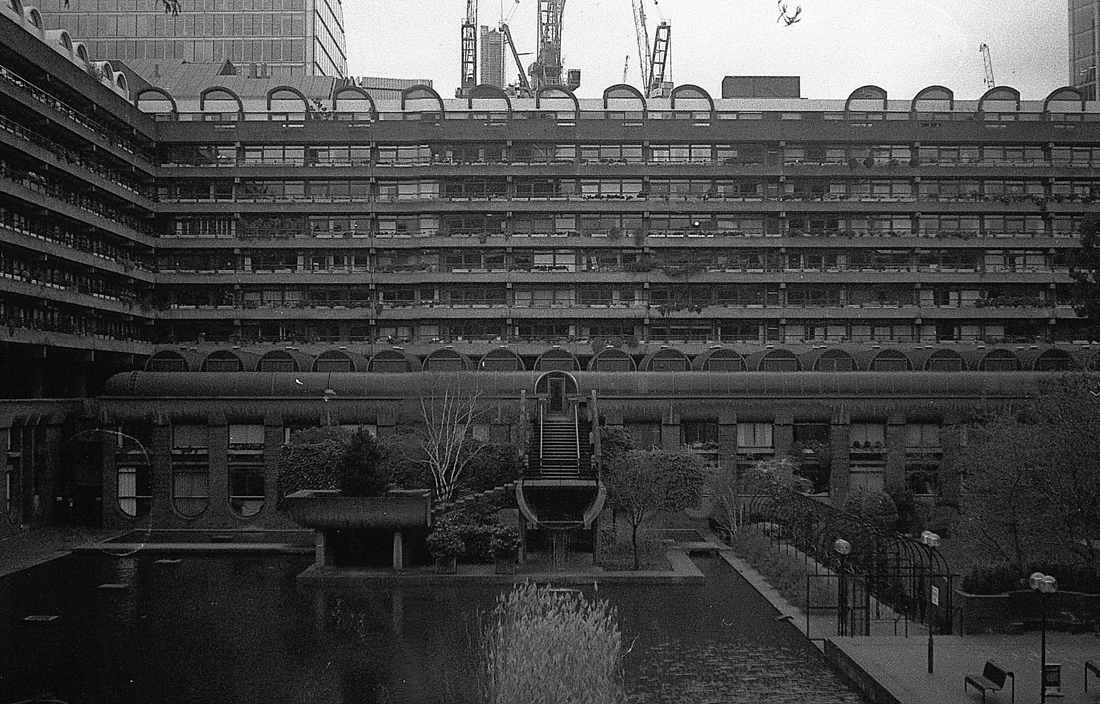
Journey Photoshoot (Film)


Journey Photoshoot Revisited (digital)
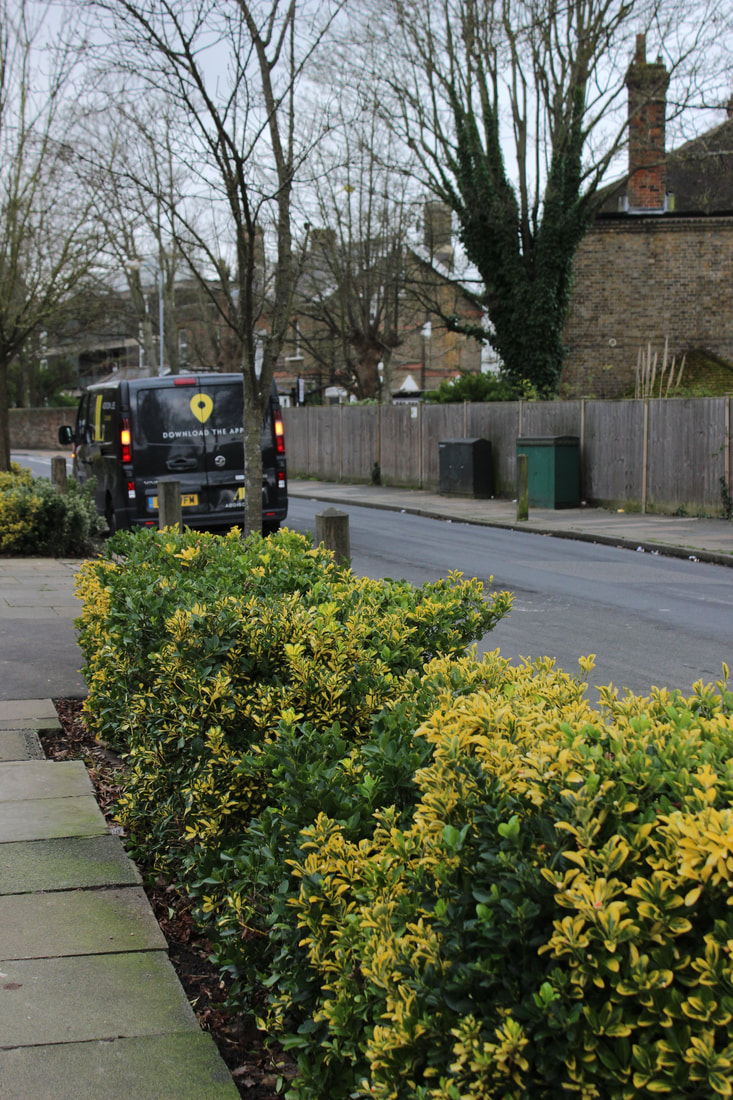
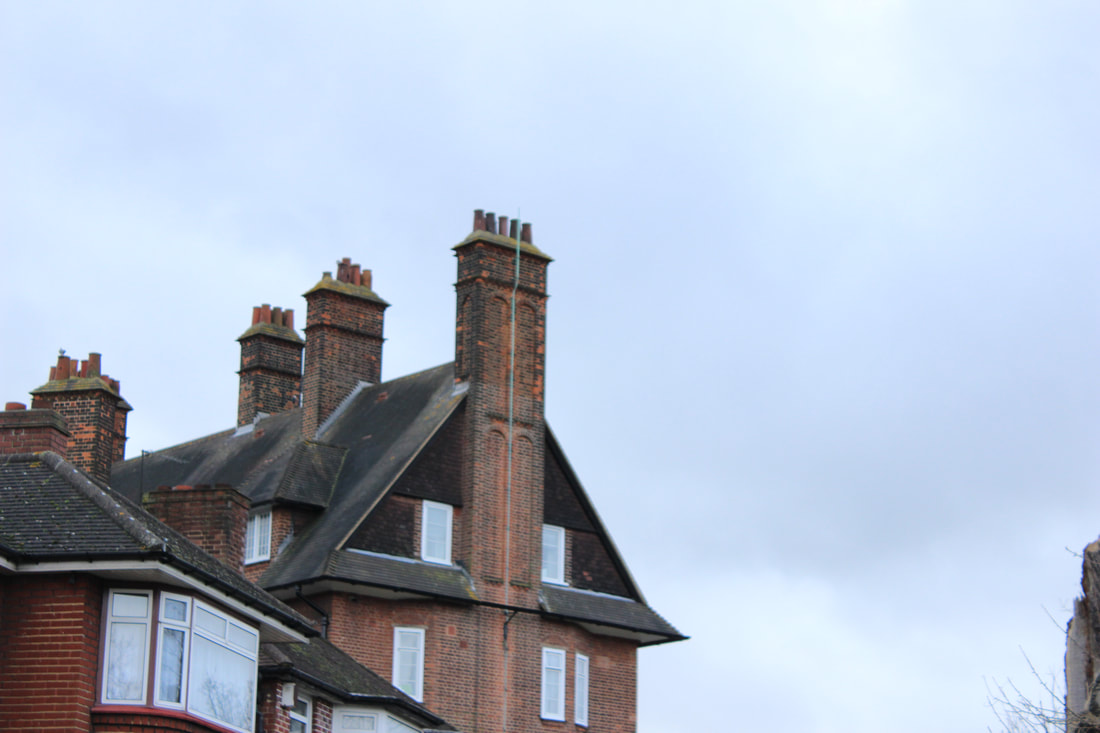
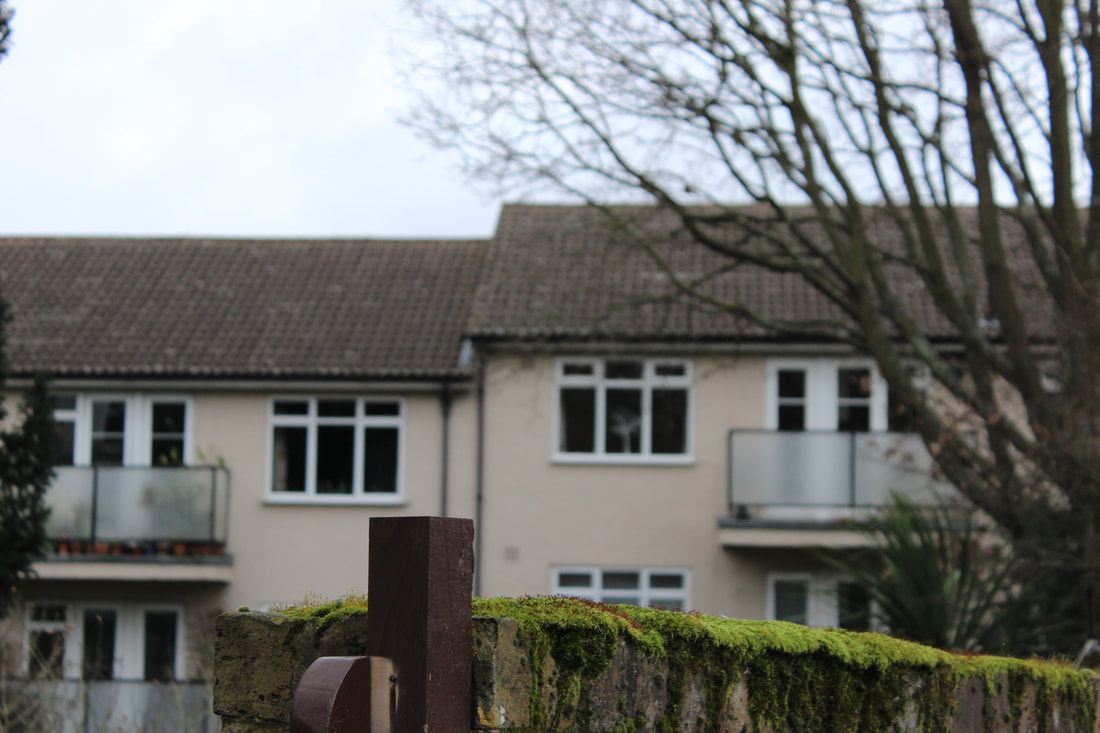
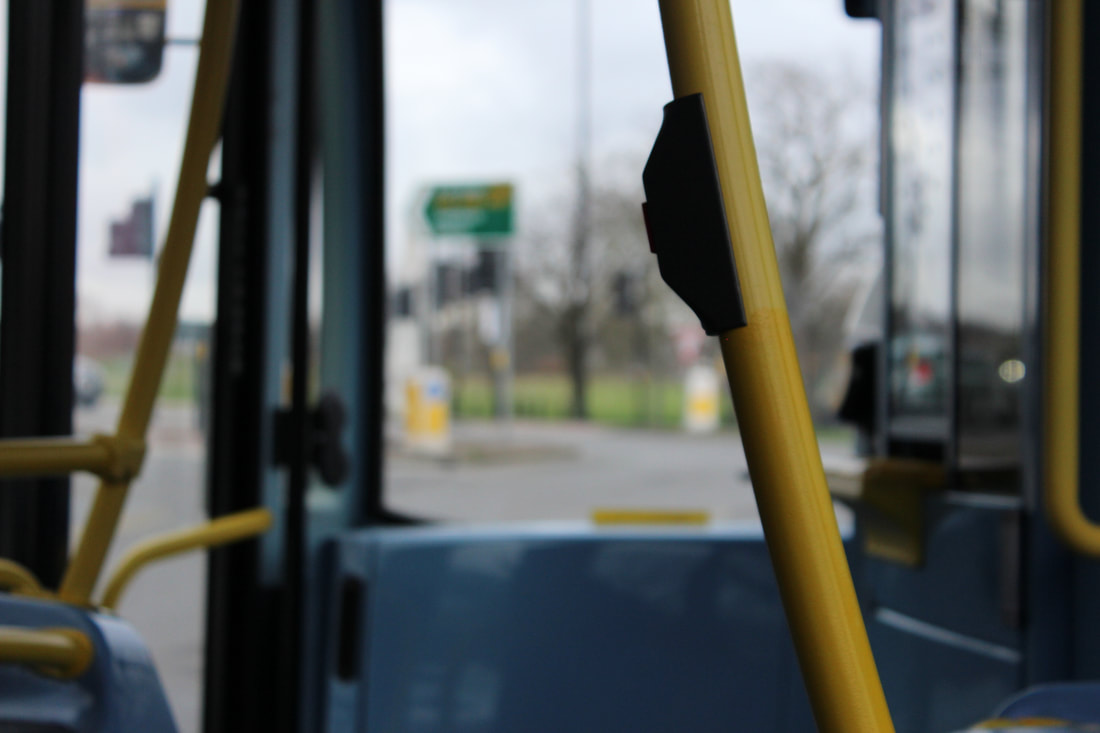
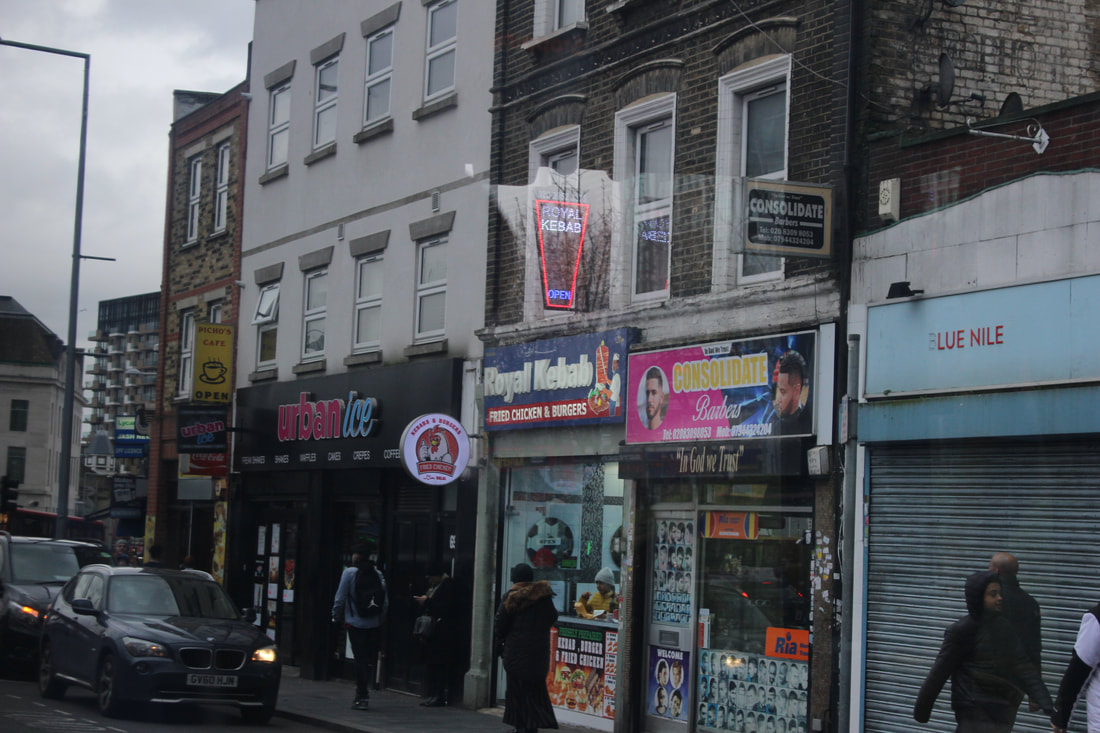

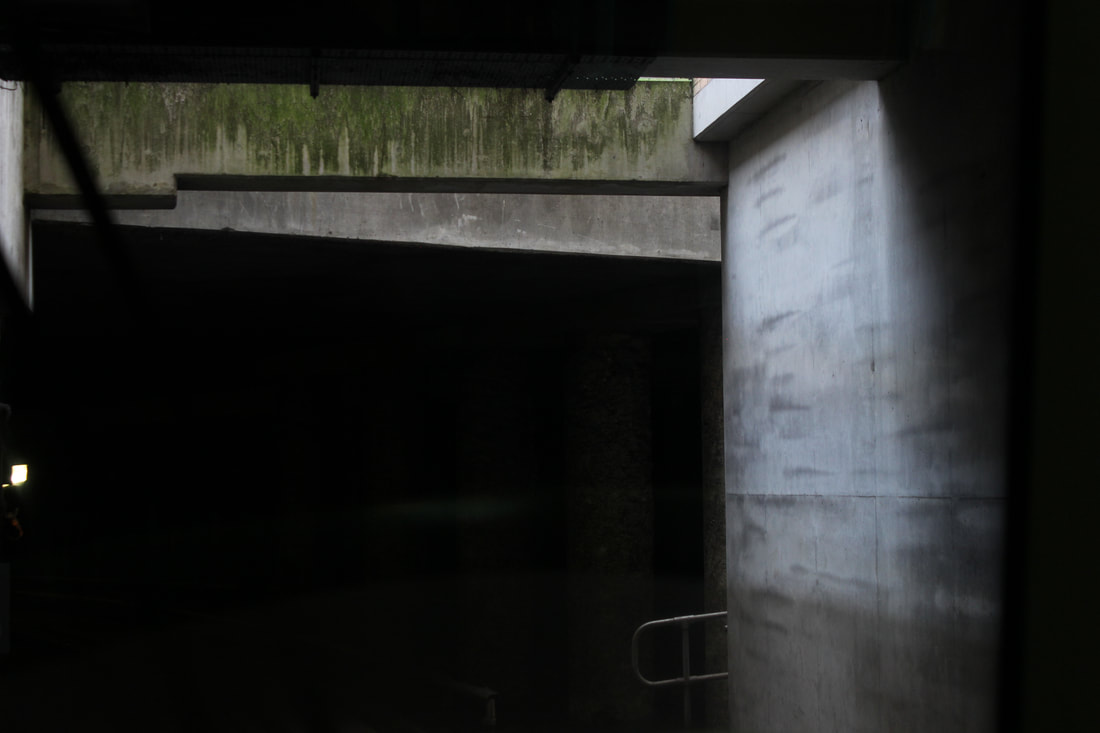
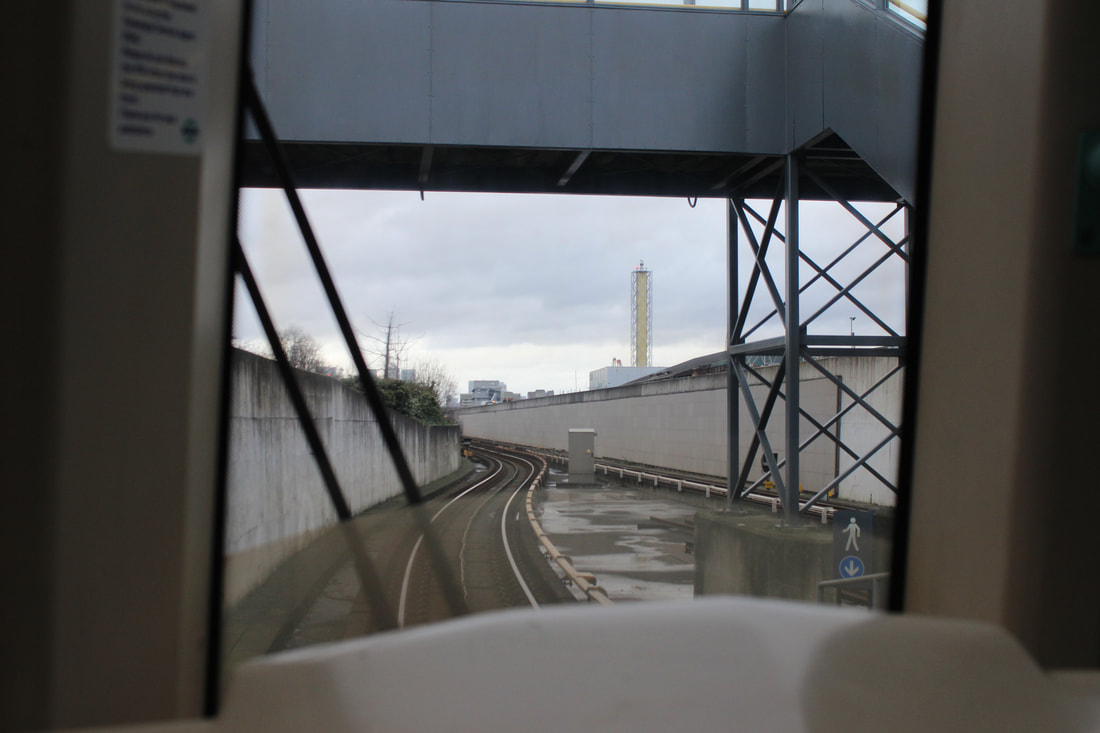
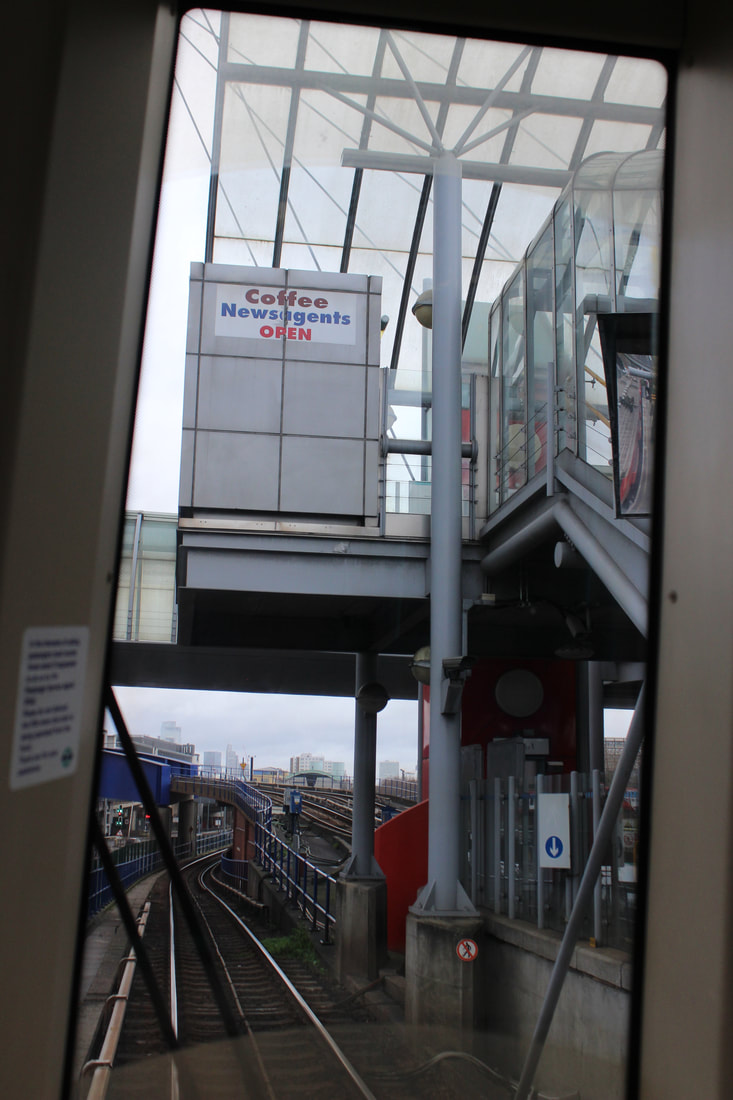
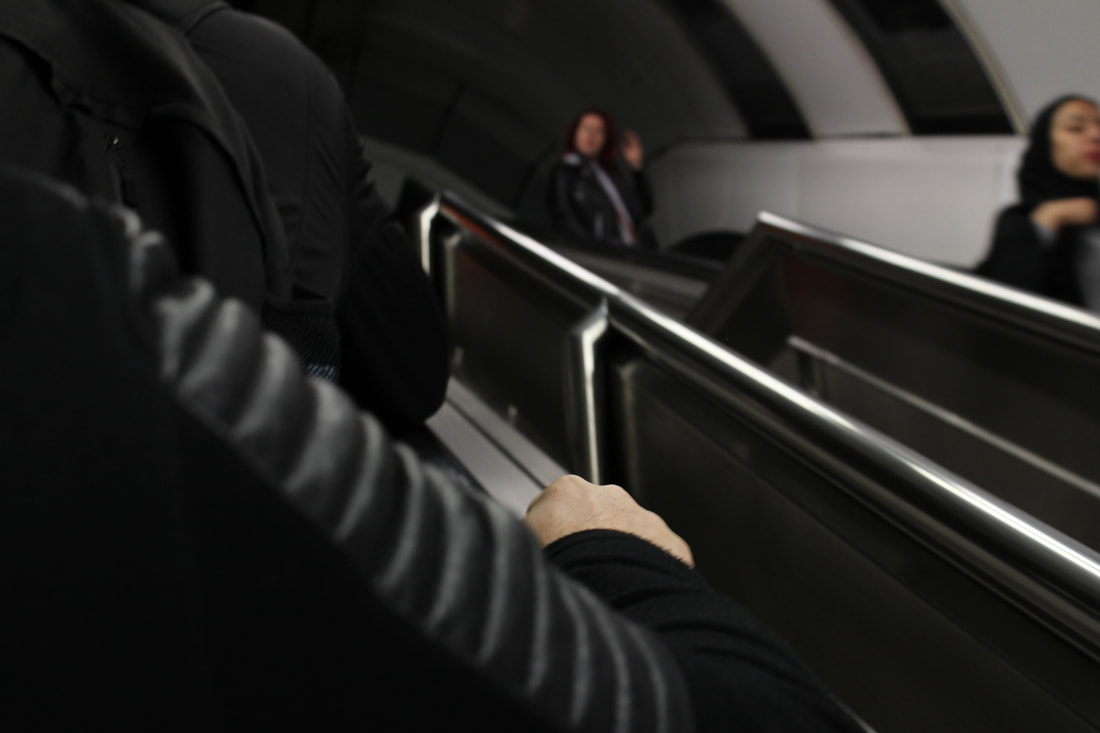
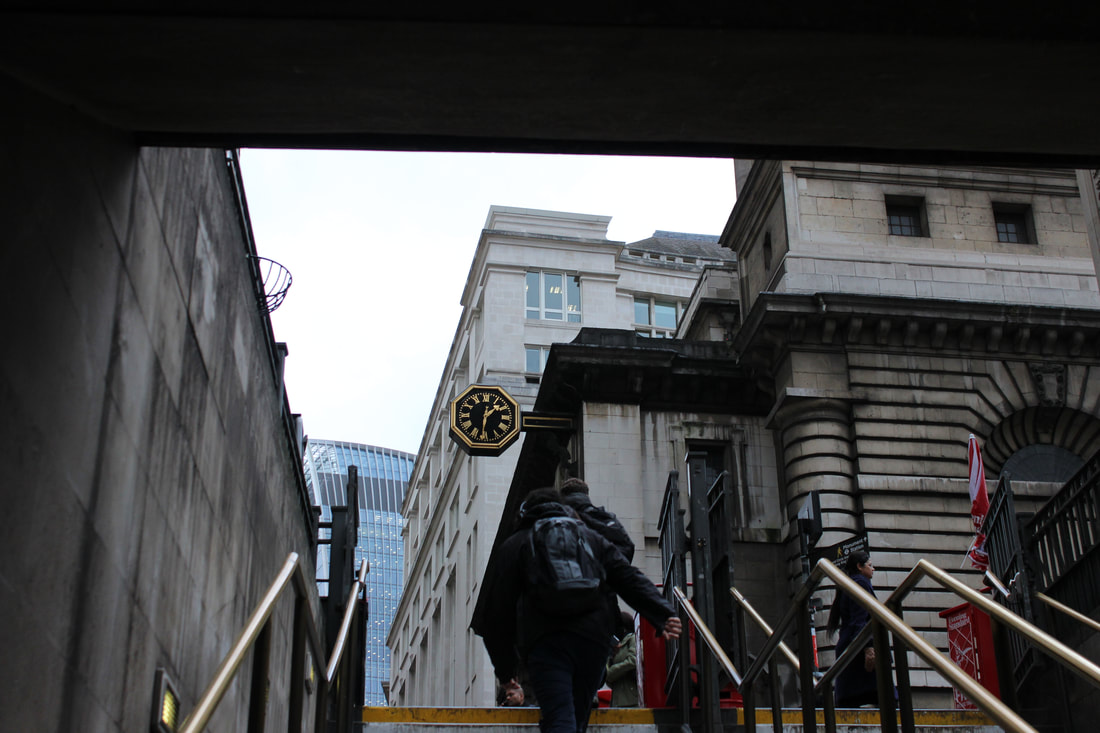


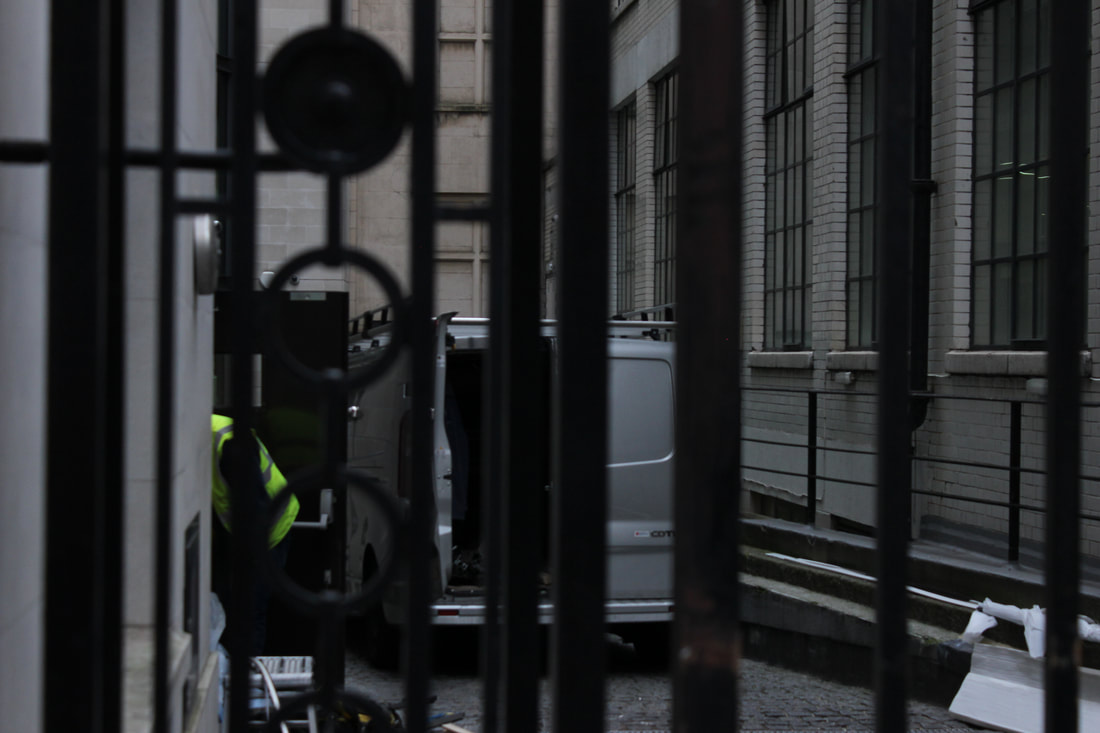
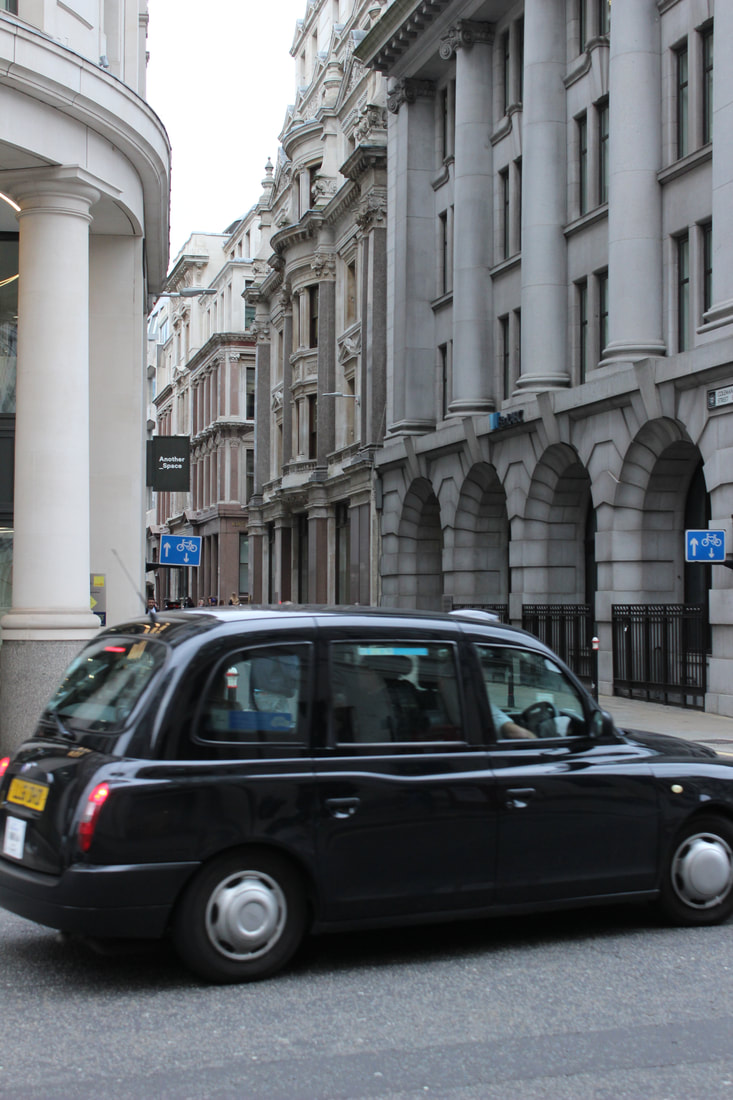
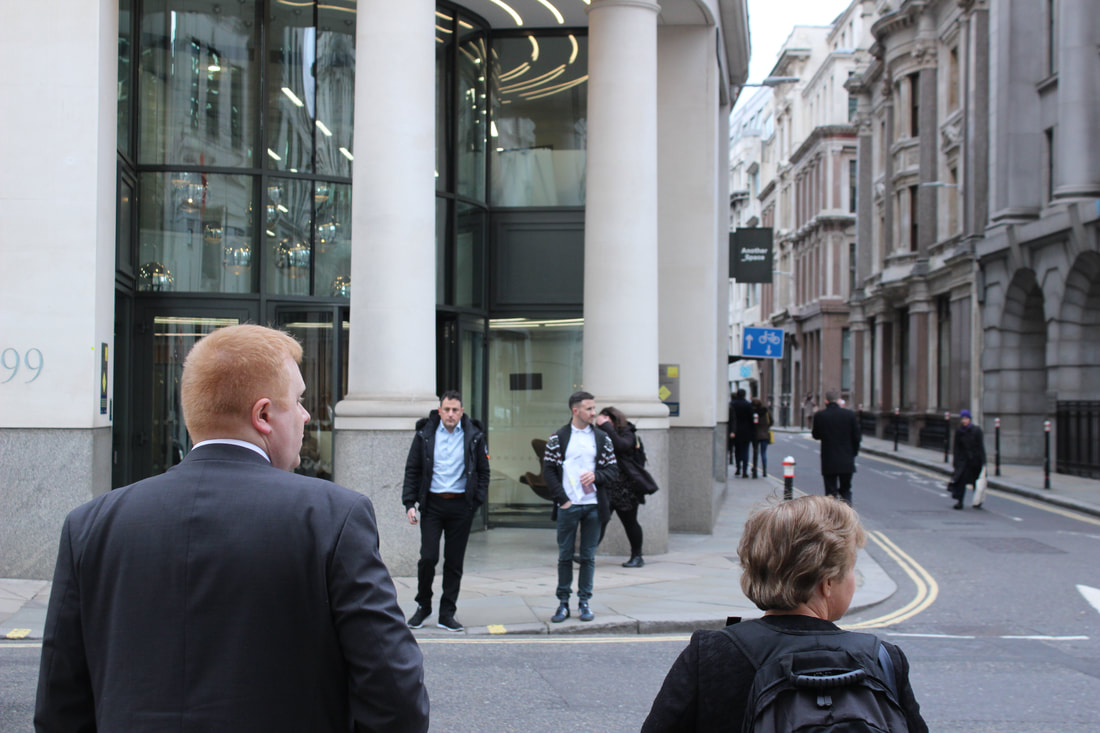

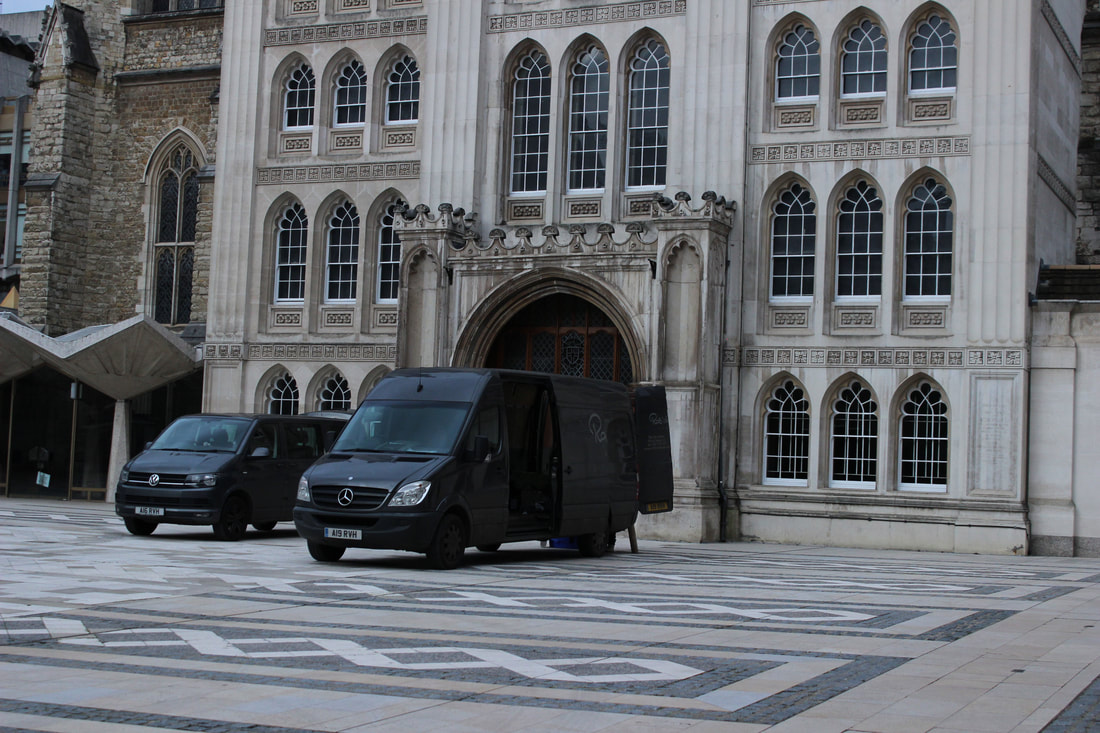

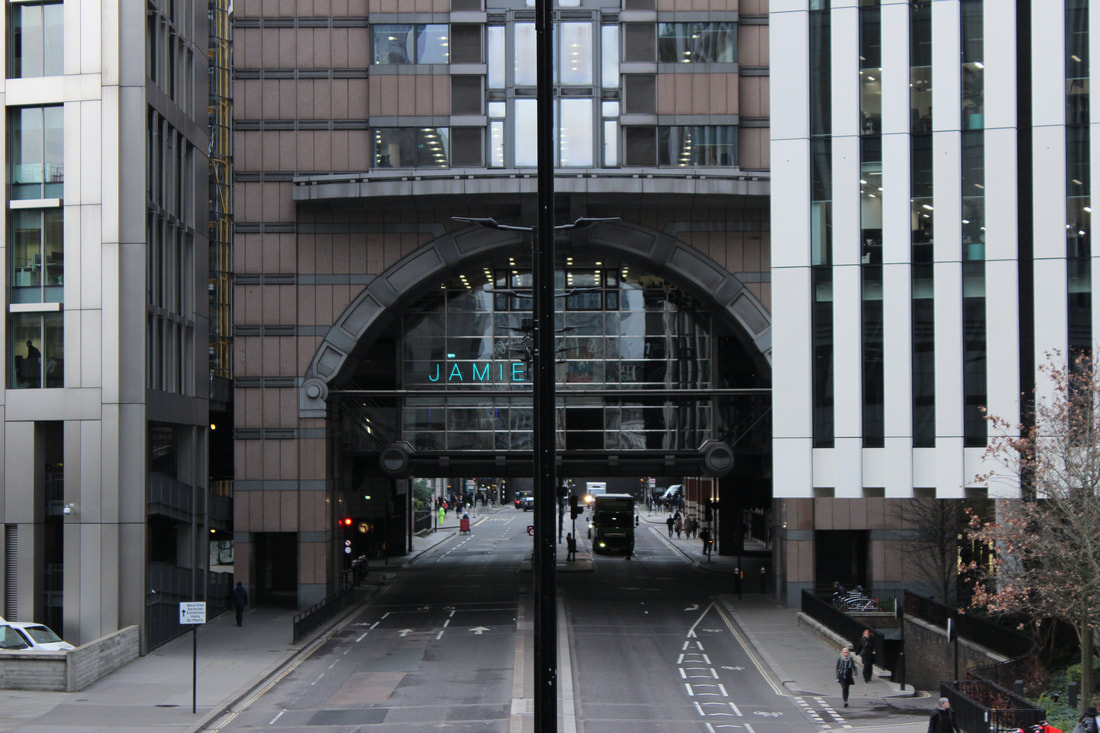

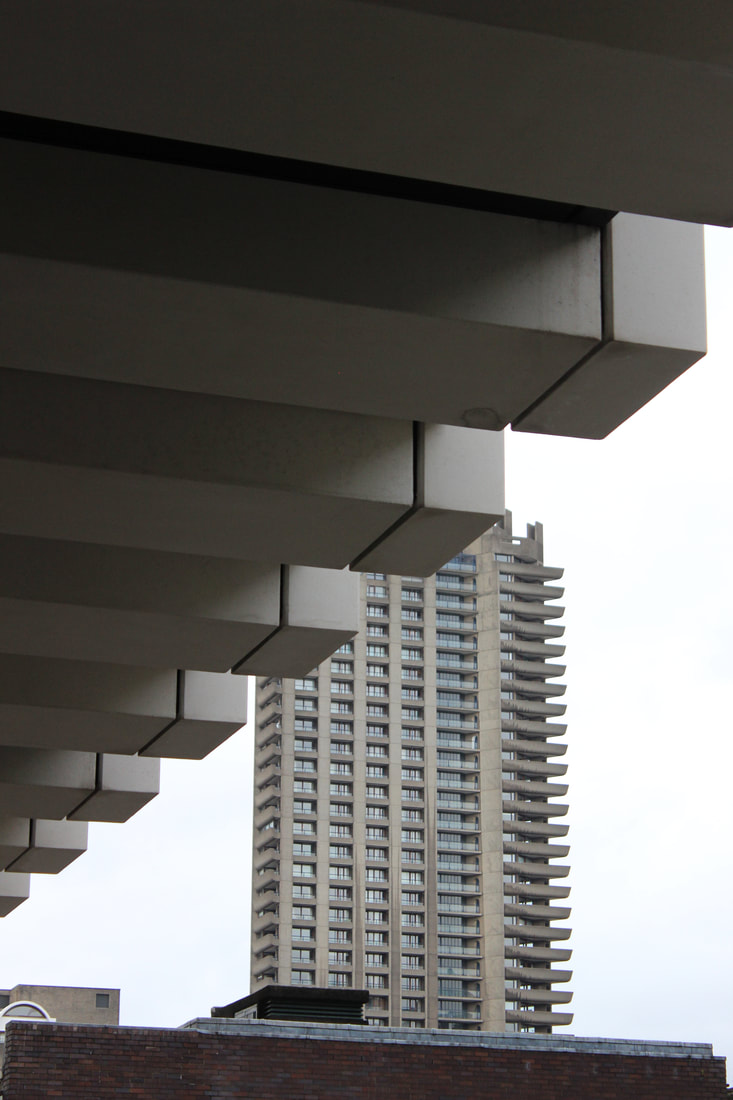
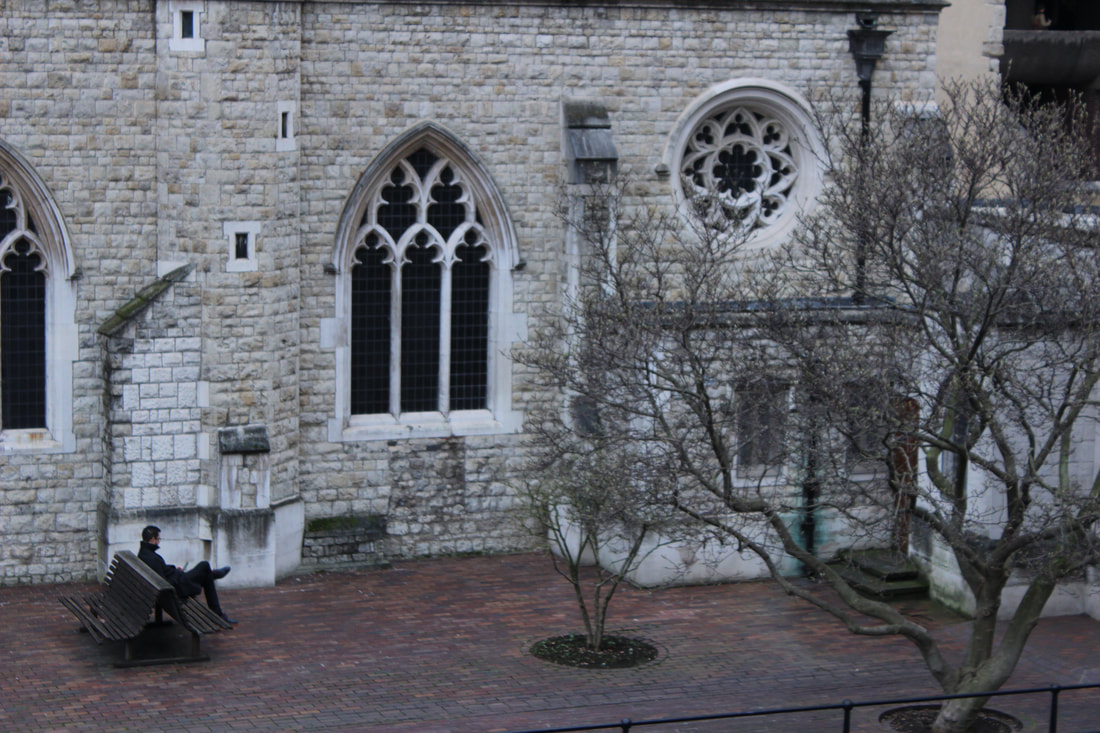
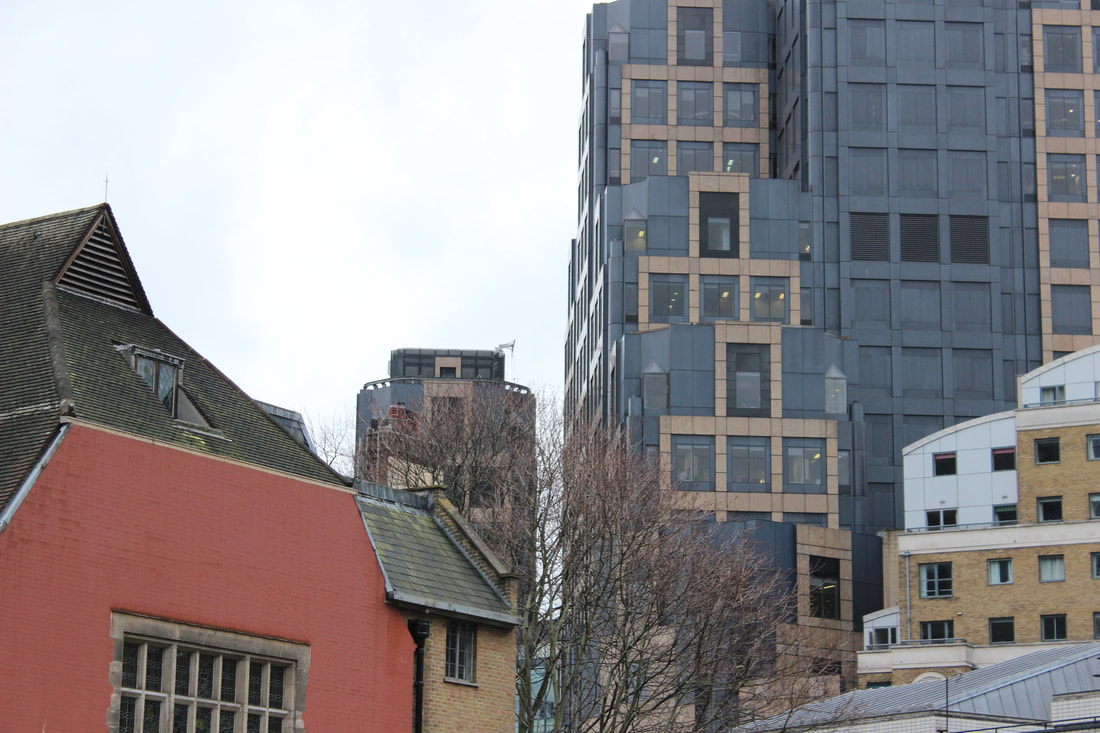

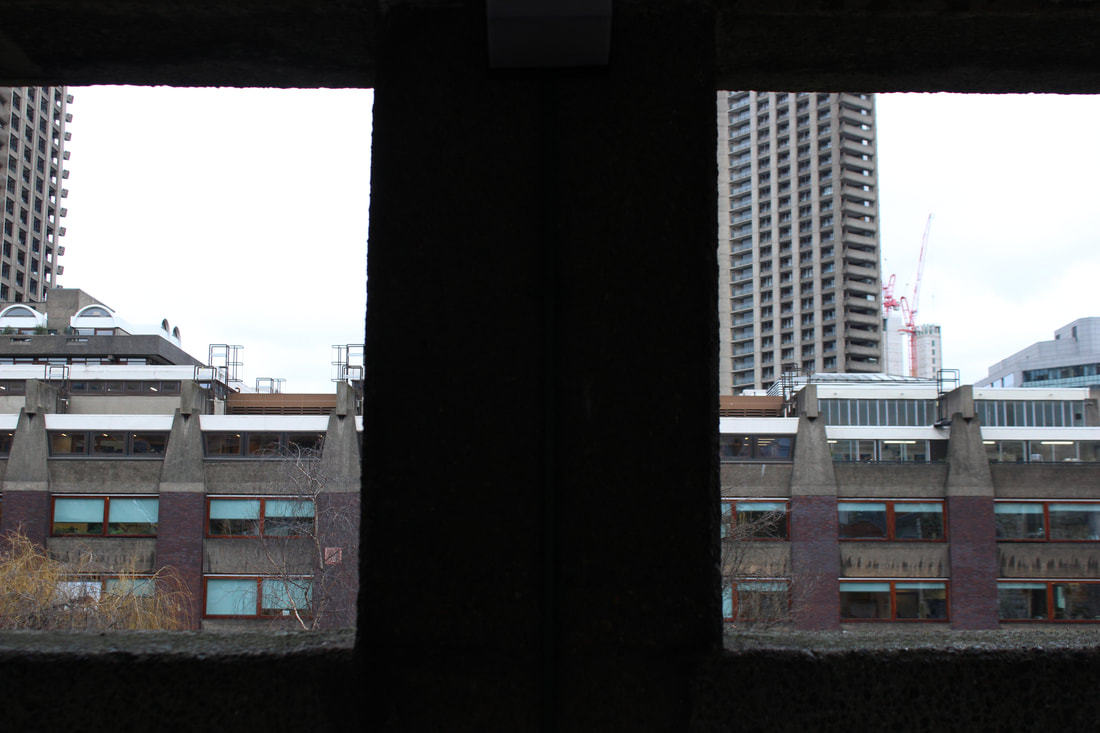
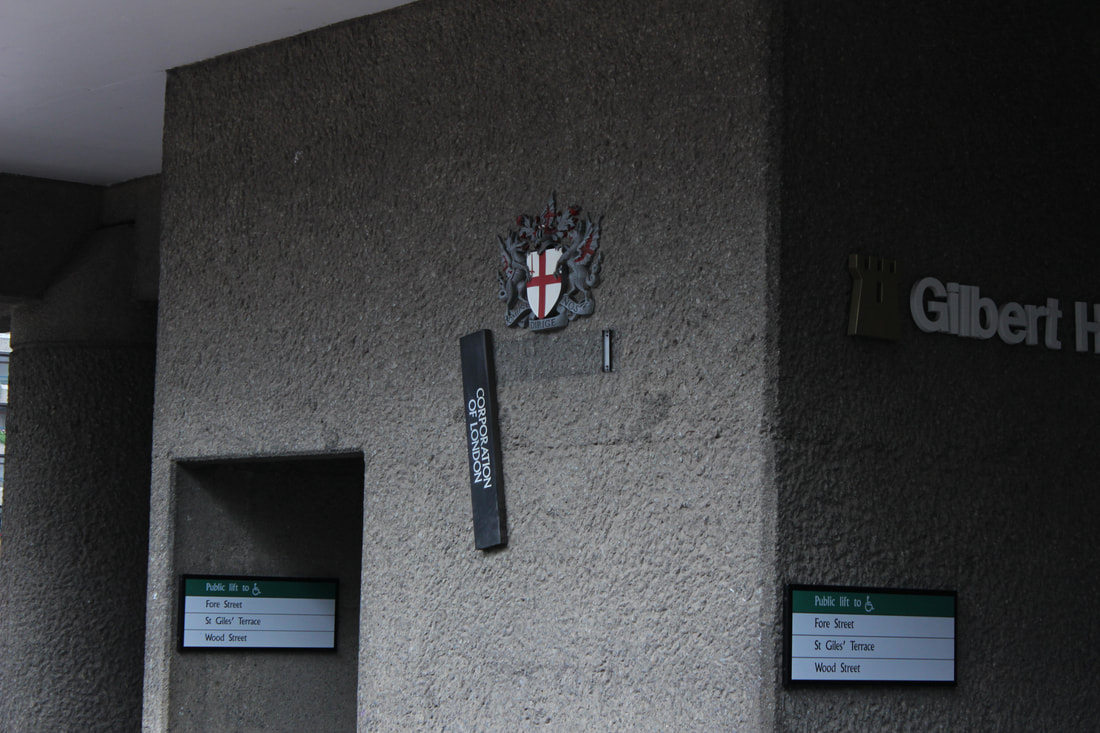
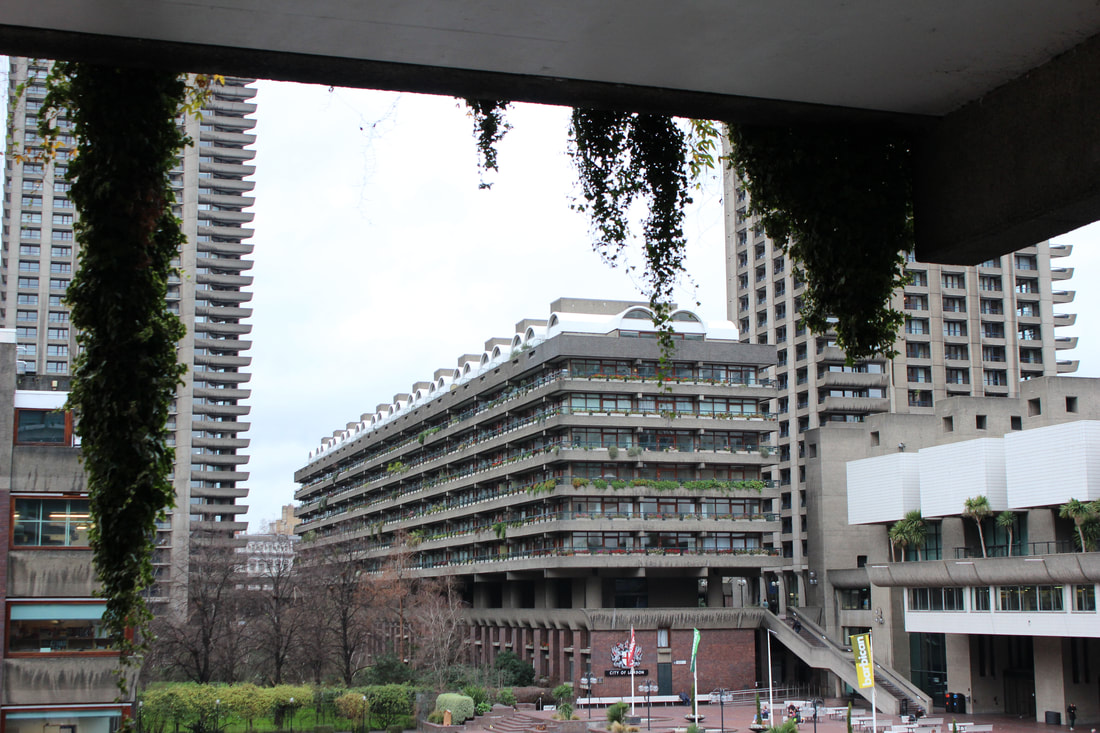

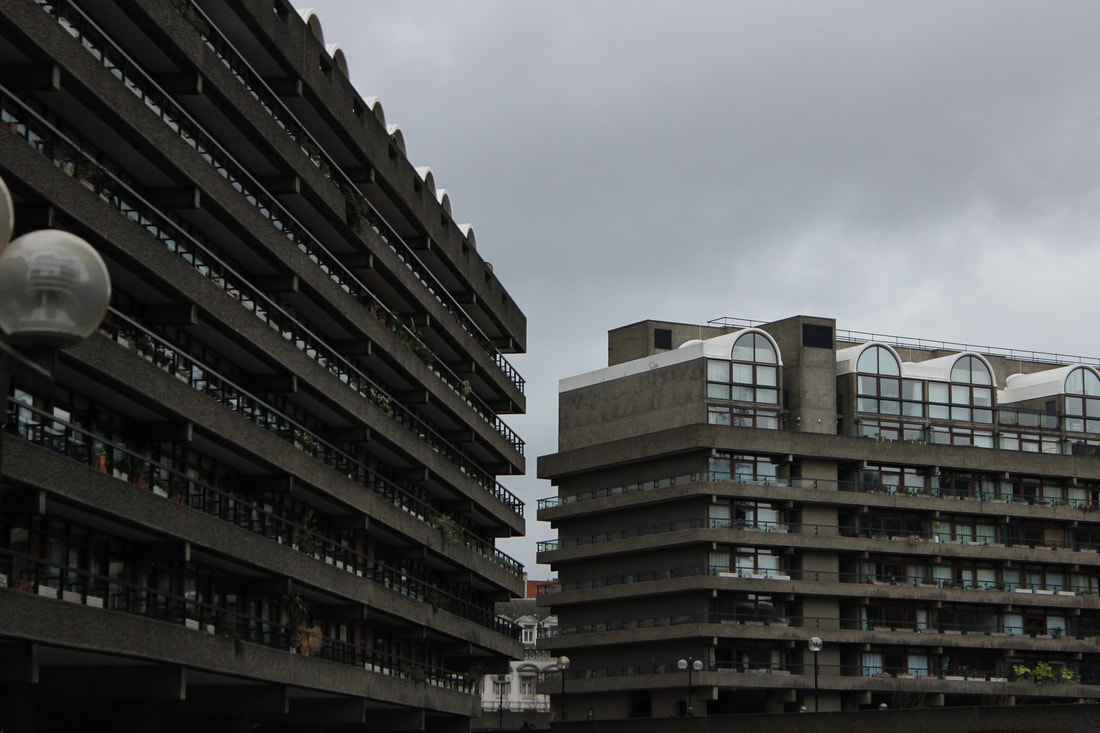
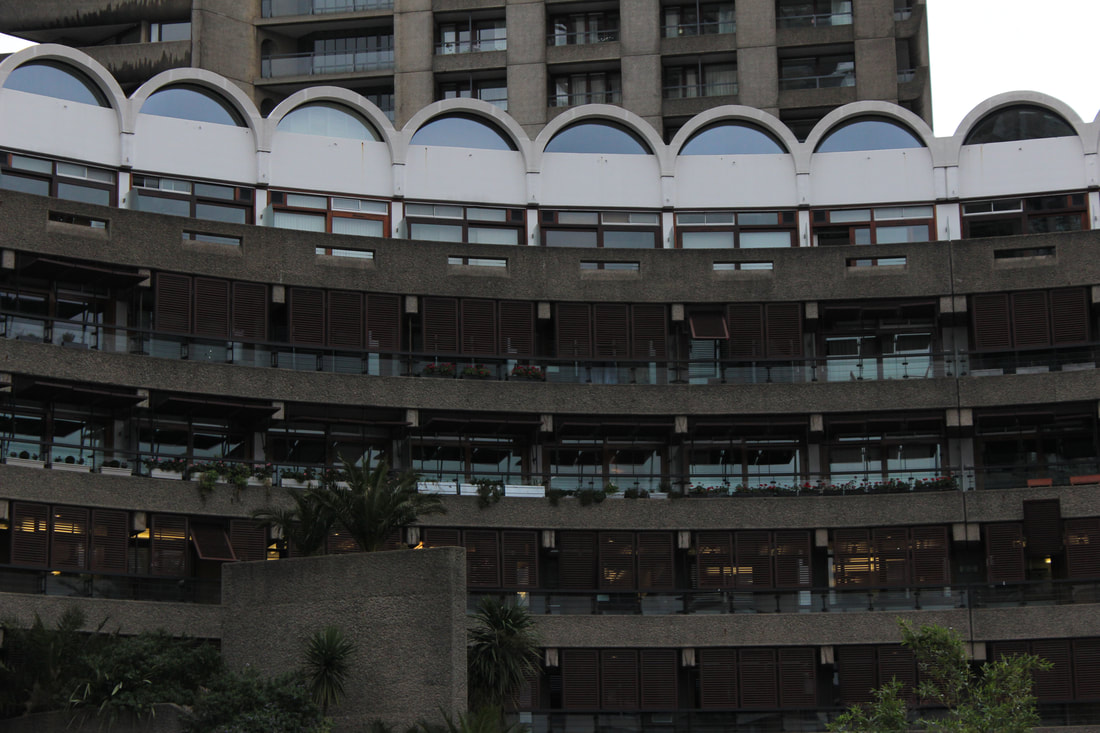

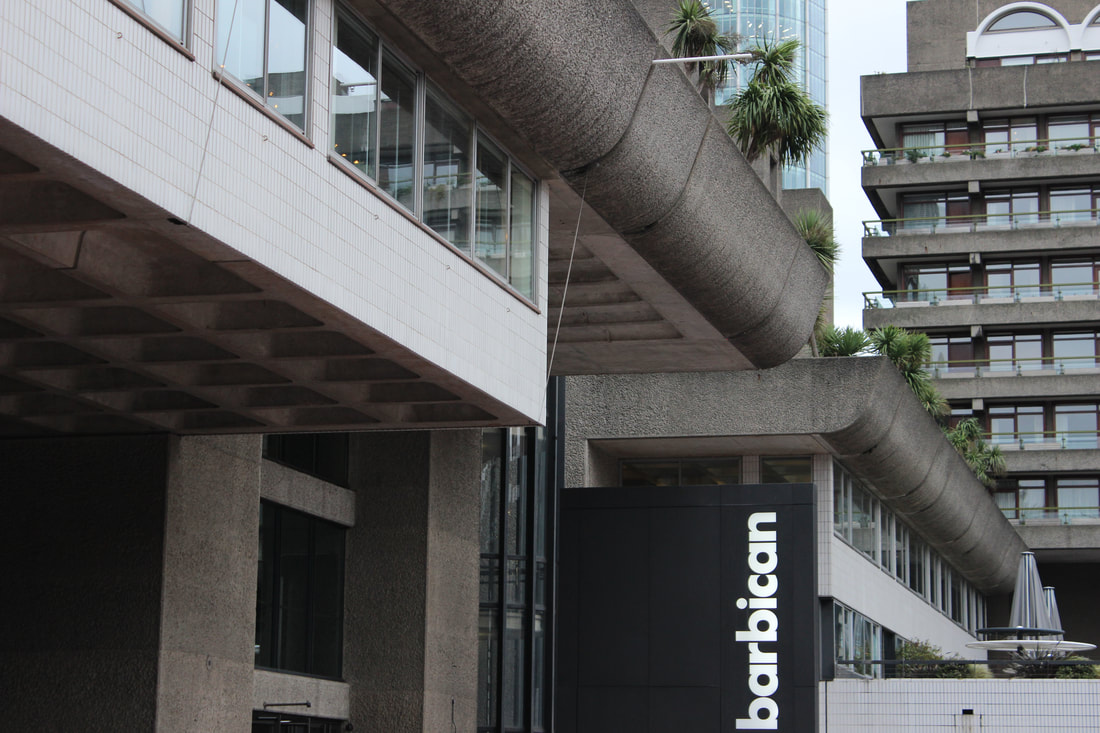

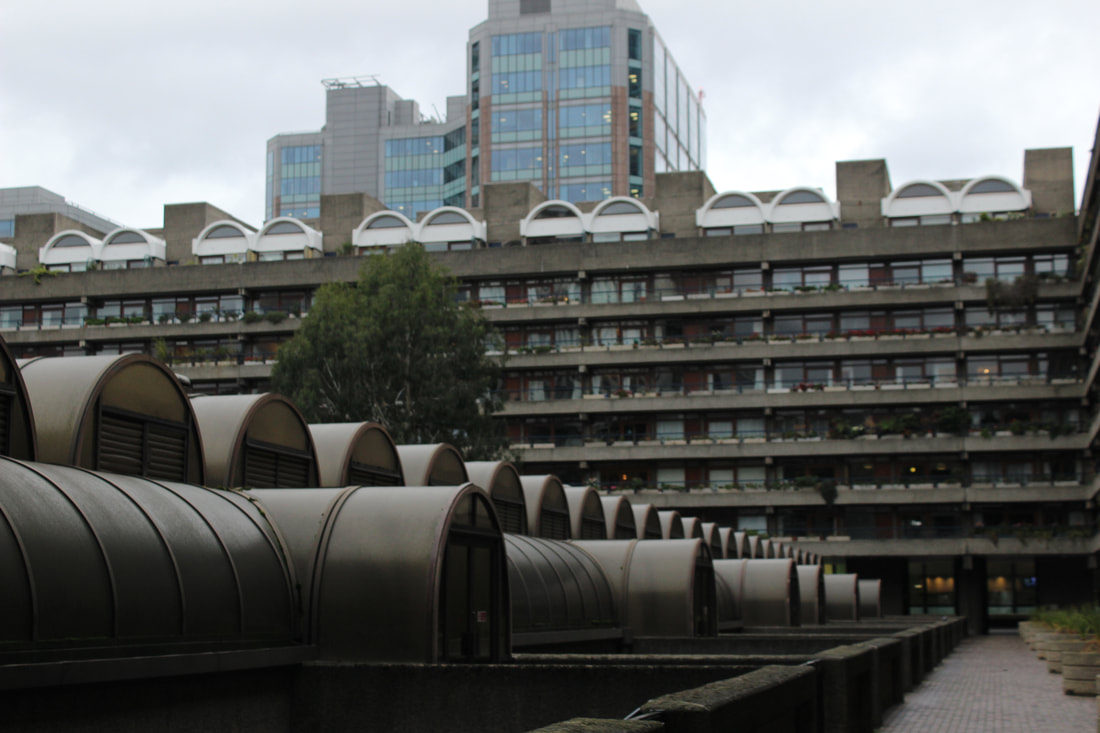

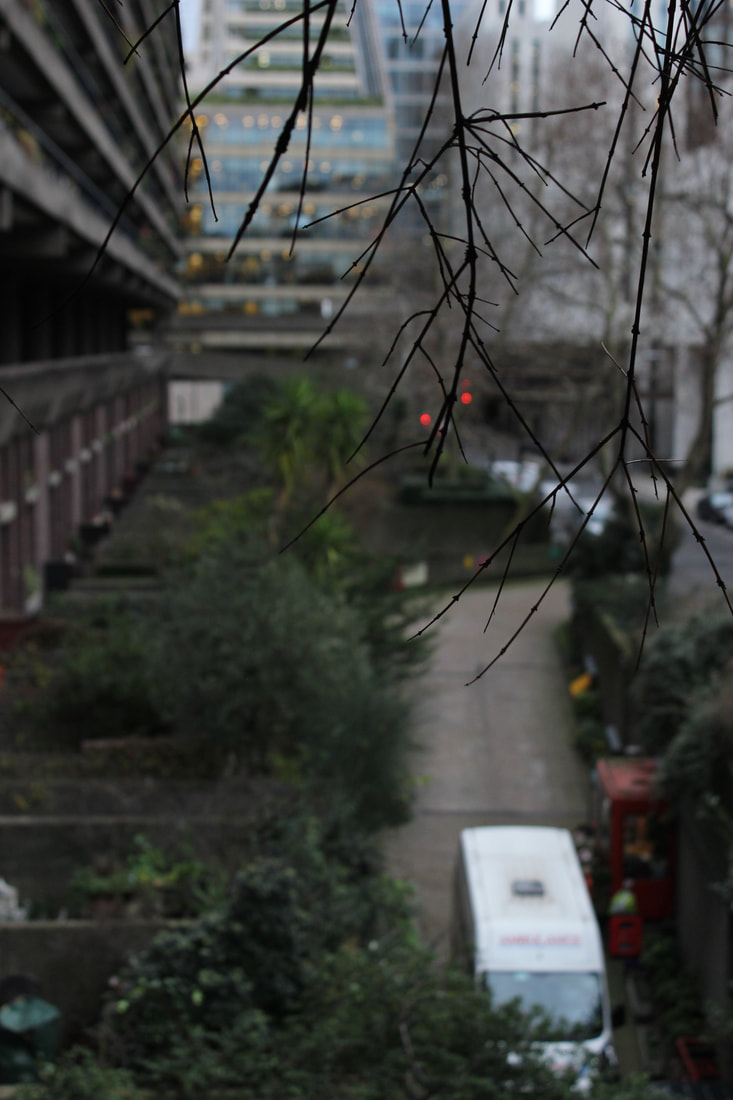
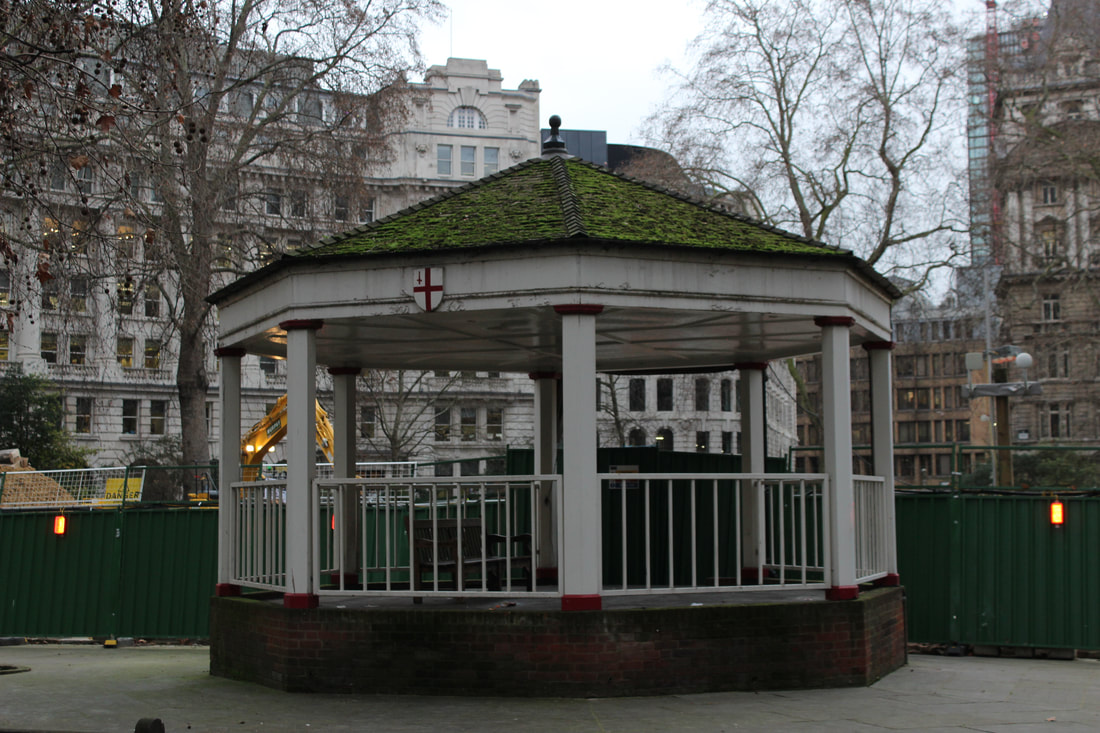
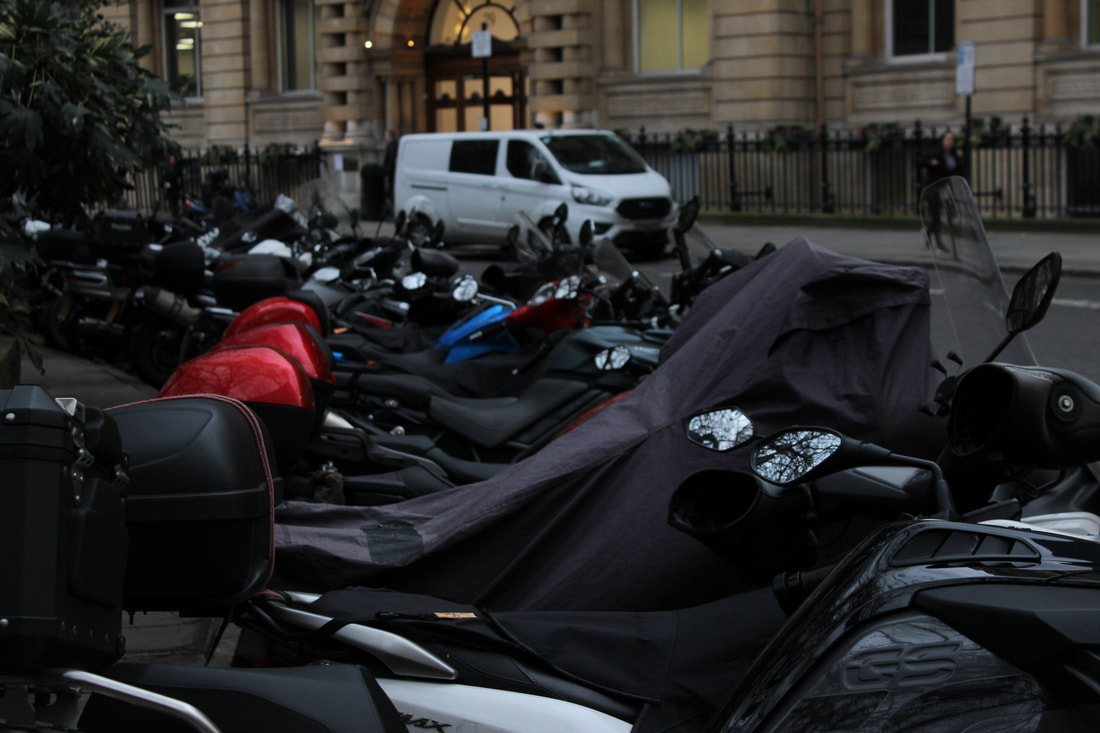

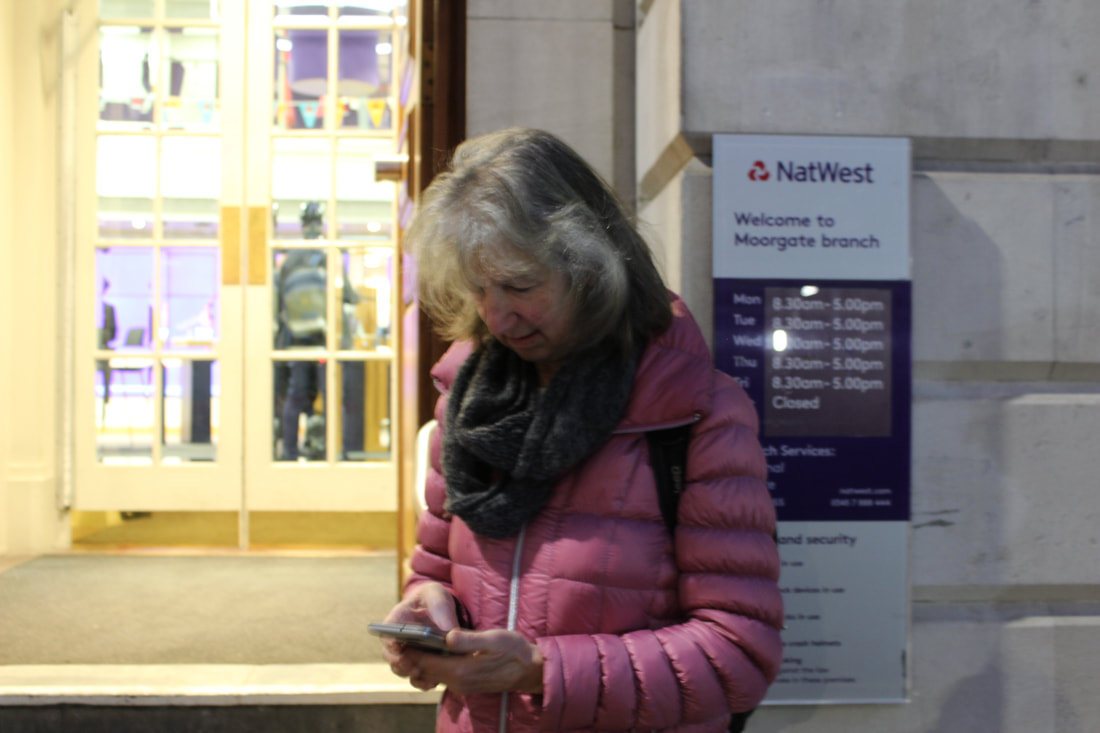
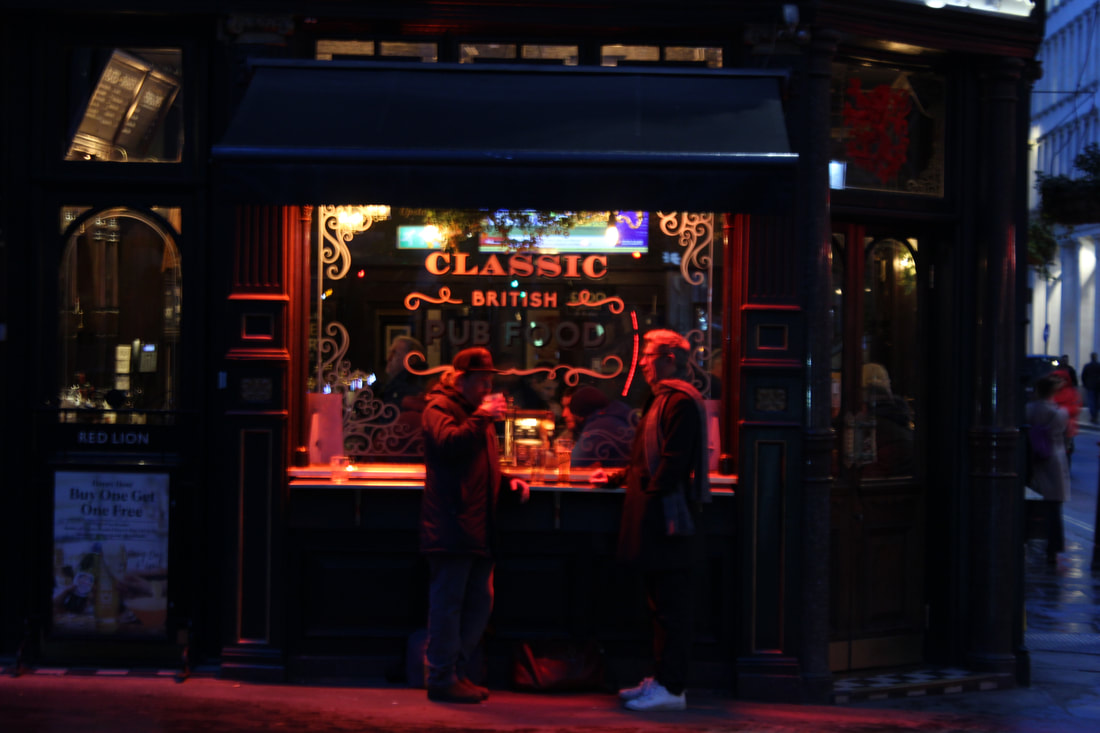
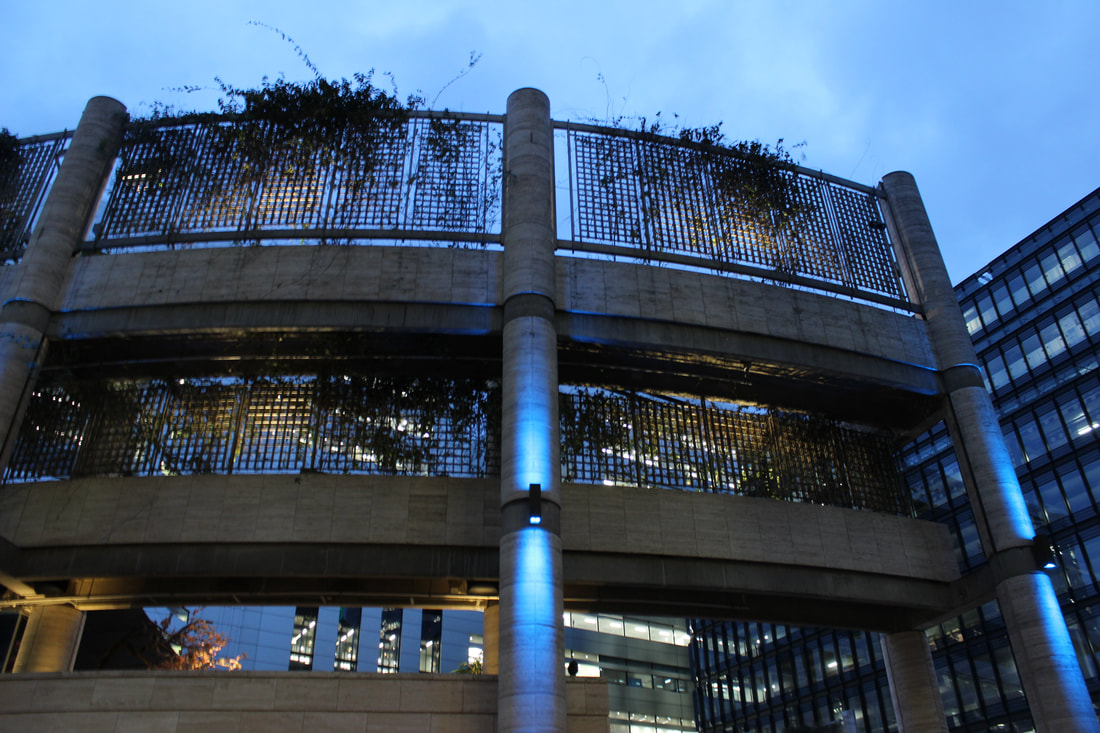
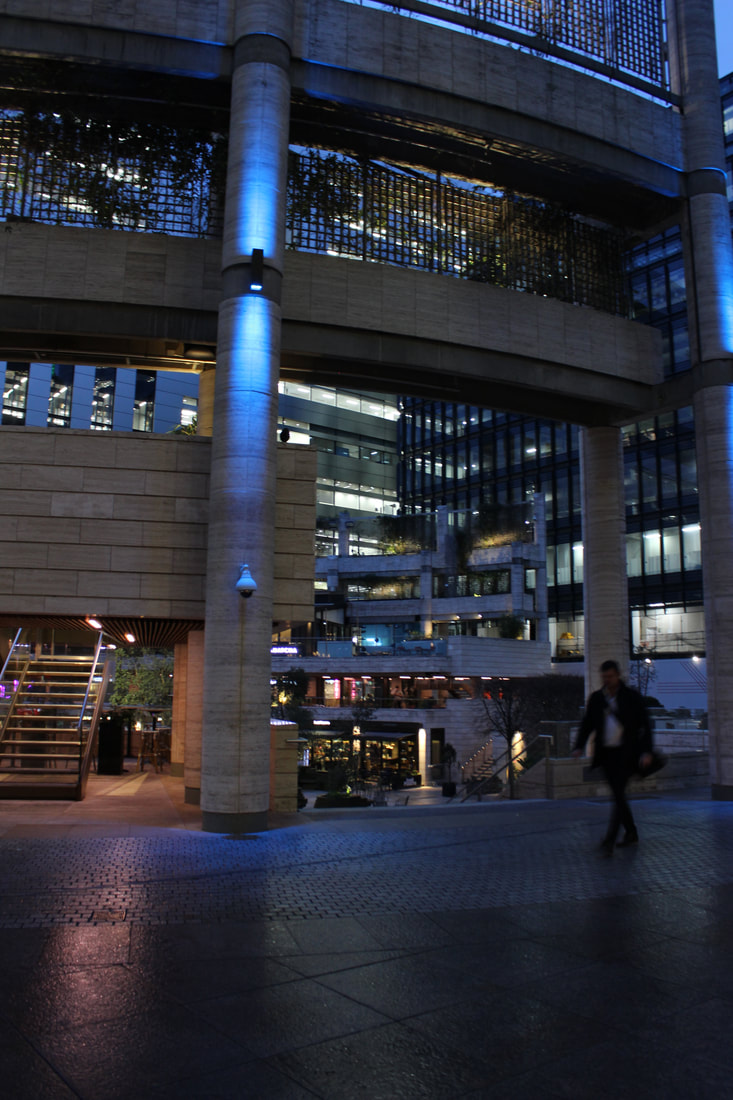
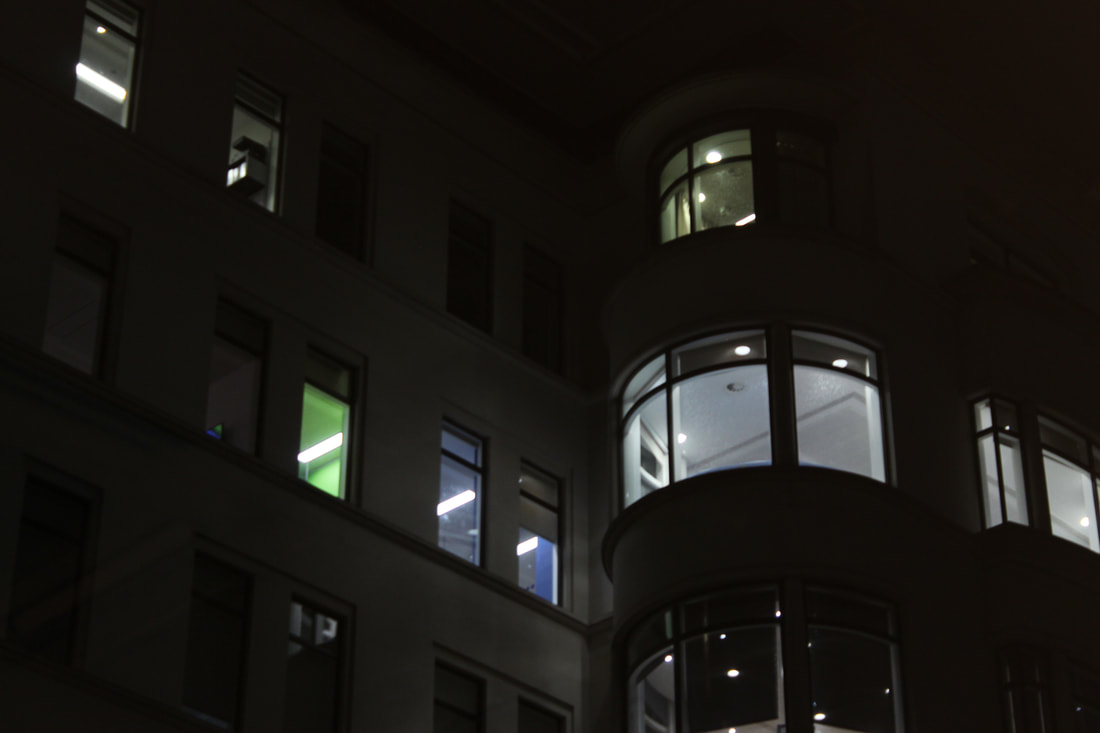

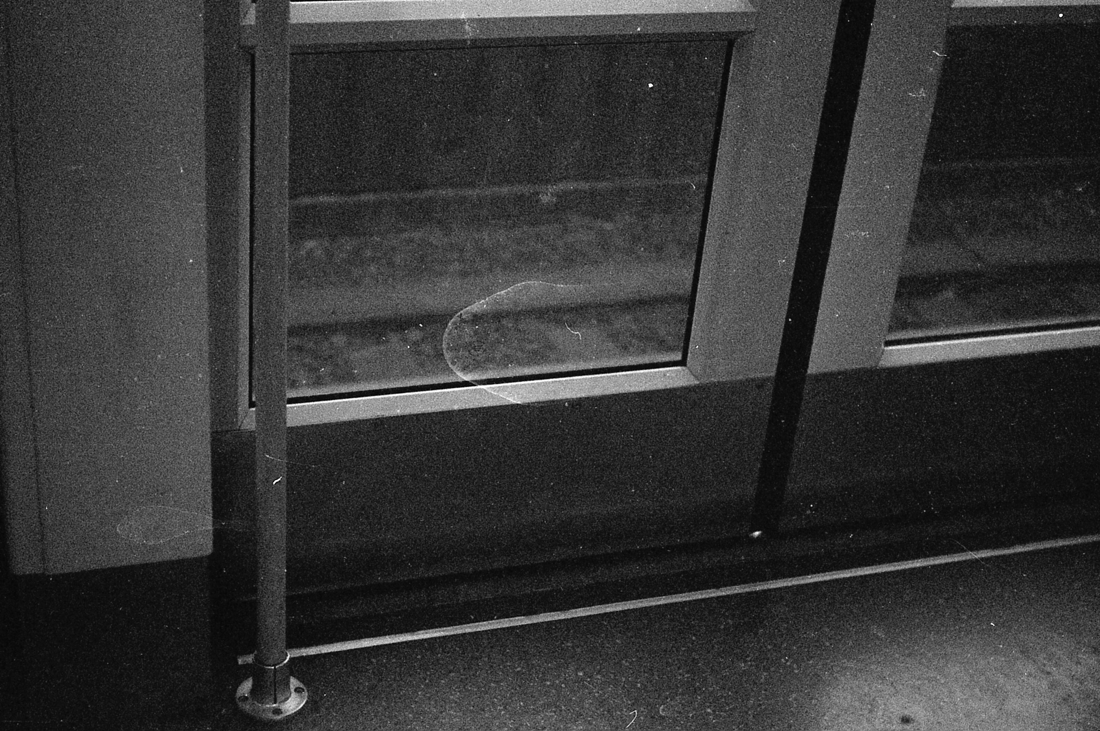
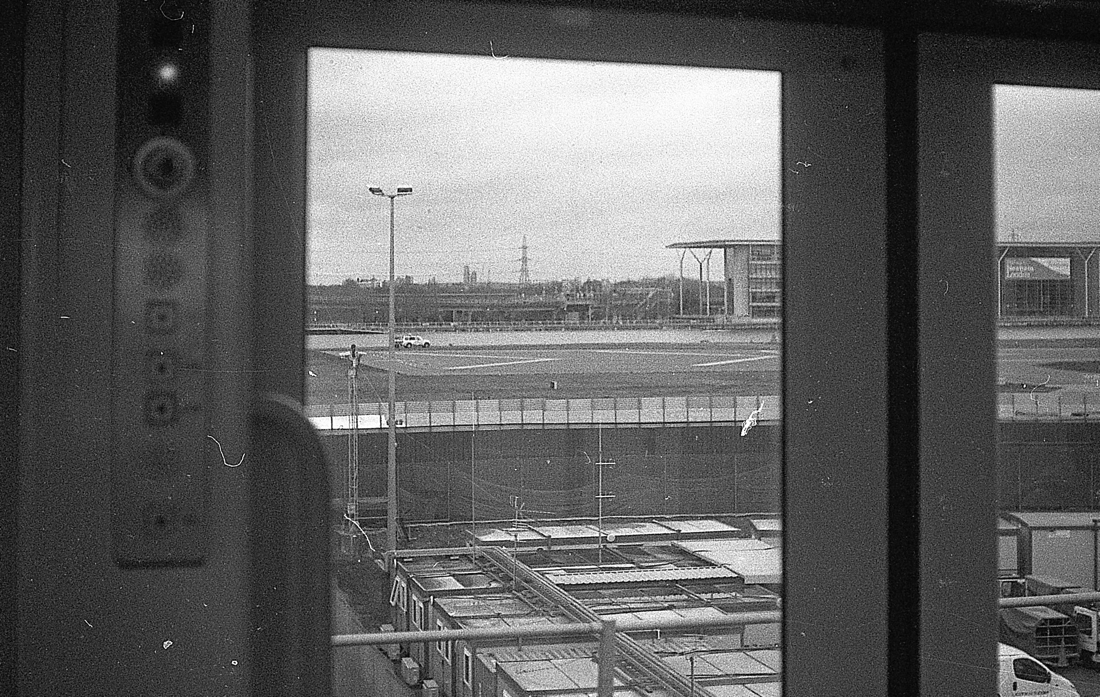
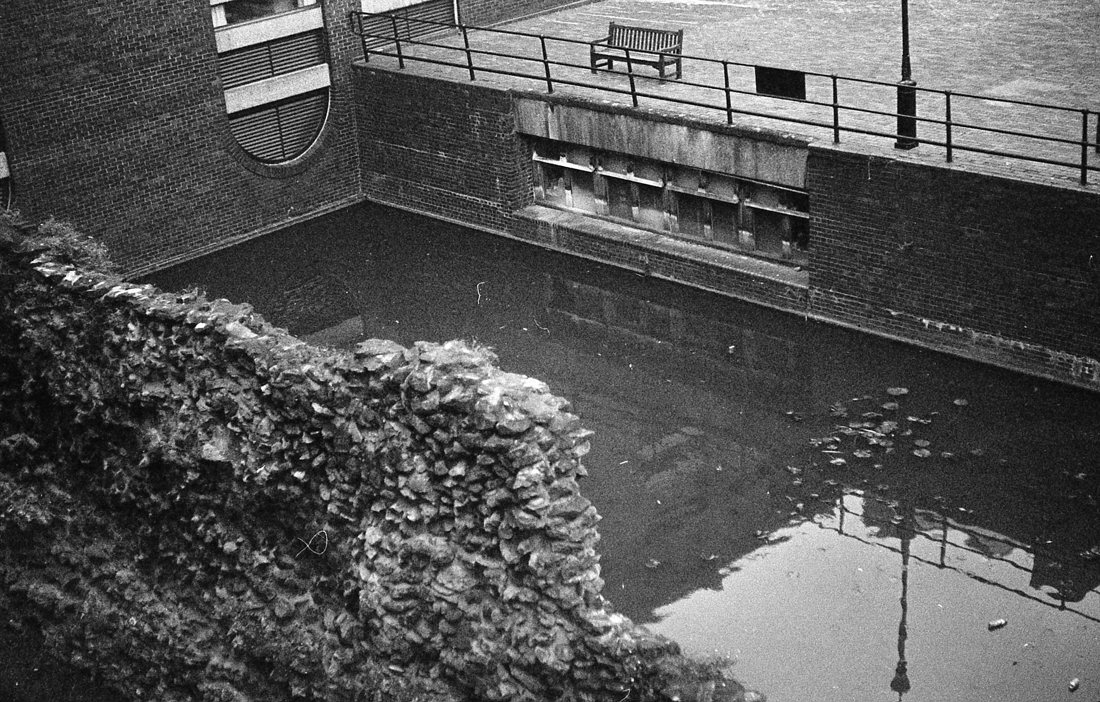
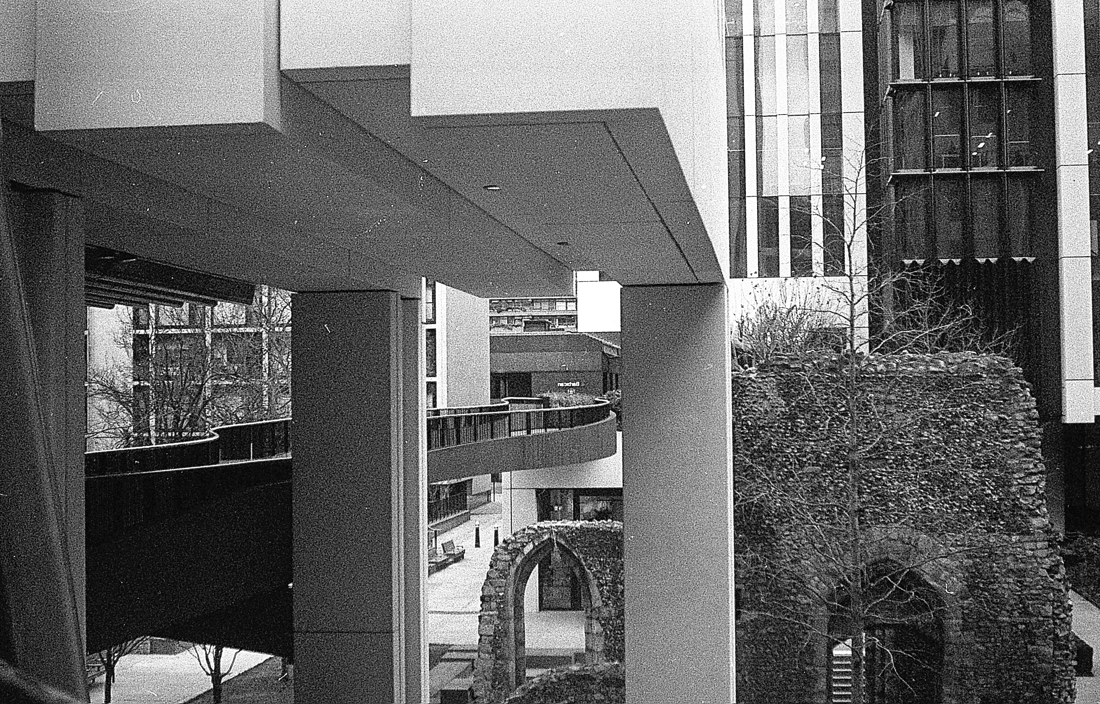
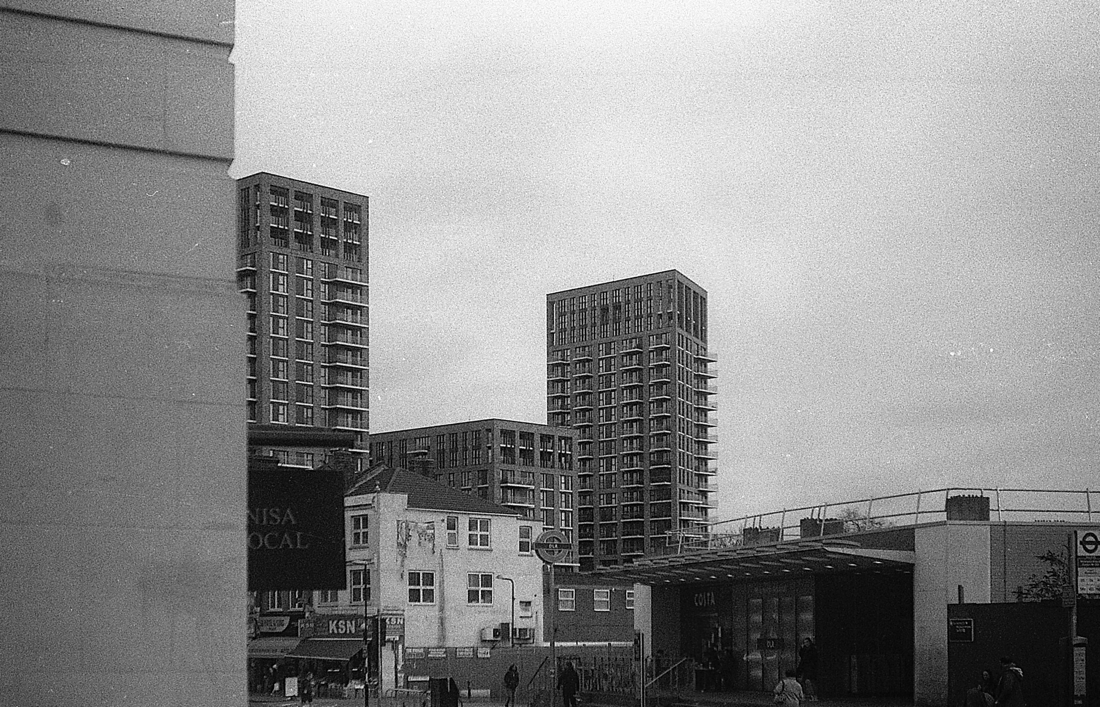
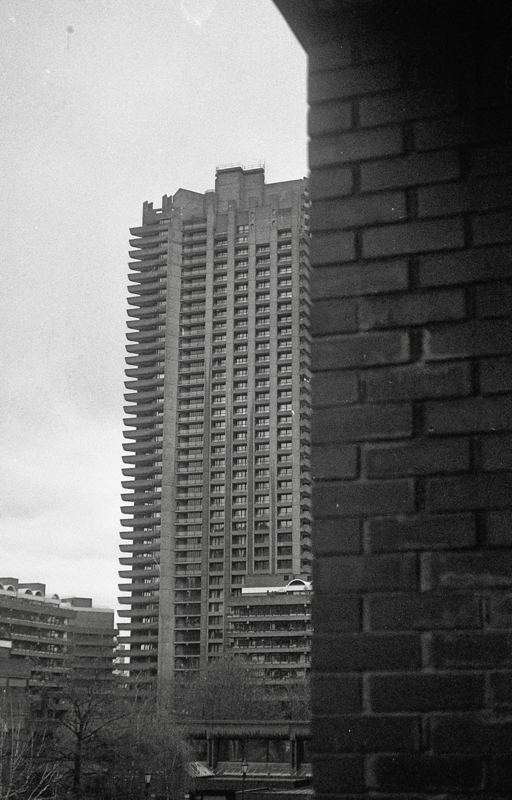
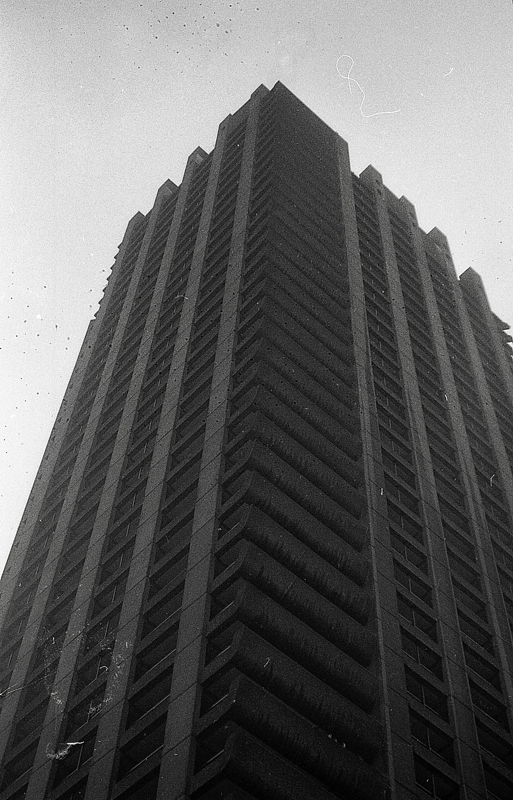
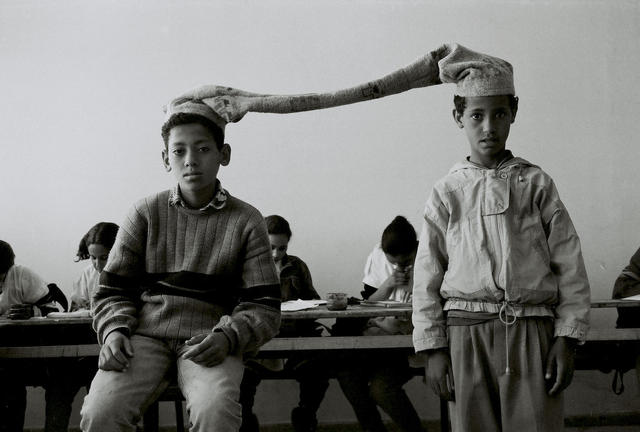
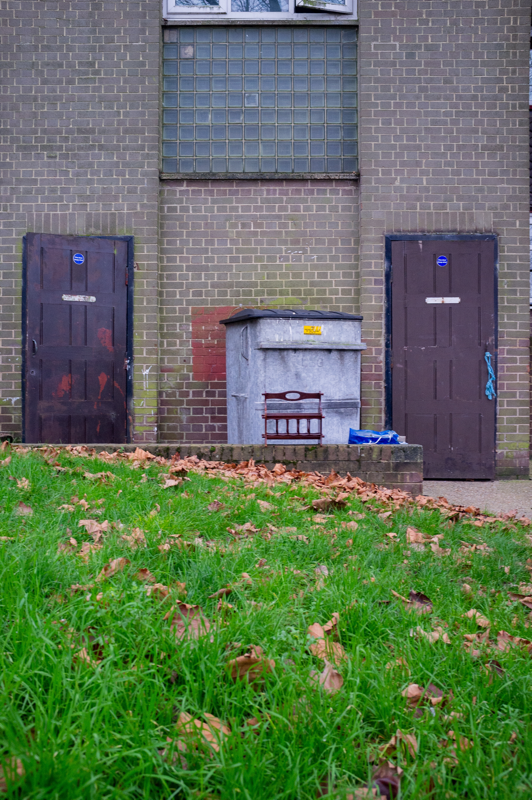
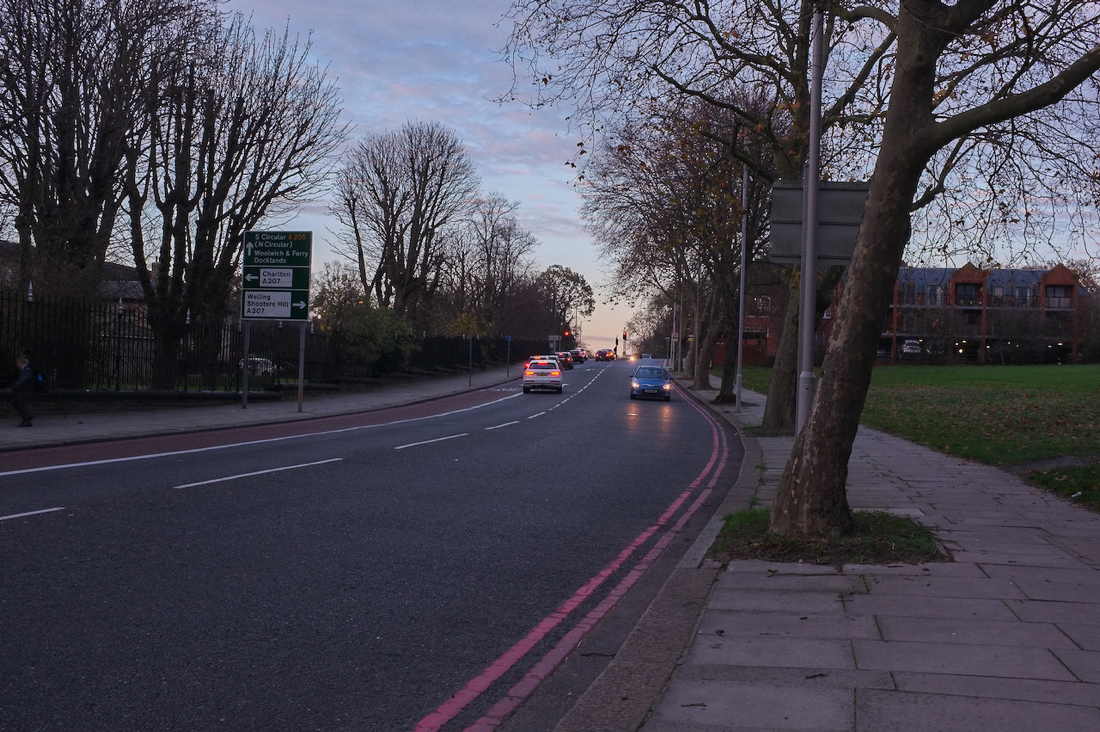
In this photoshoot our task was to take photos on a journey to a place unknown to us. In my photoshoot I went from my house to the Barbican, then to Moorgate station where I took people's portraits and interviewed them. I travelled to Woolwich first with using the 24, then I used the DLR to go to Bank and walked to the Barbican from there. At the Barbican I struggled to find people that would be willing for me to take their photo and interview them as they were either too busy or working. So, I went to Moorgate Station as it was rush hour and I thought it would be a lot easier to find people to interview. The first portrait I had taken was a man who was going home from work, he worked in one of the offices nearby. The second person was in a rush so I wasn't able to interview her properly but I told her about the photoshoot and same with the third person. I am going to attempt this again and I will go at a more suitable day and time as by the time I reached my location it was rush hour and people were more unwilling. I will do this again on the weekend instead as most people are off work so they will be more willing to allow me to interview them for longer. A different location could allow me to produce better photos or let me explore a different genre of photography which is different to my path right now which is mainly to take photos of architecture, which creates a calm almost bleak mood sometimes.
Developing Film
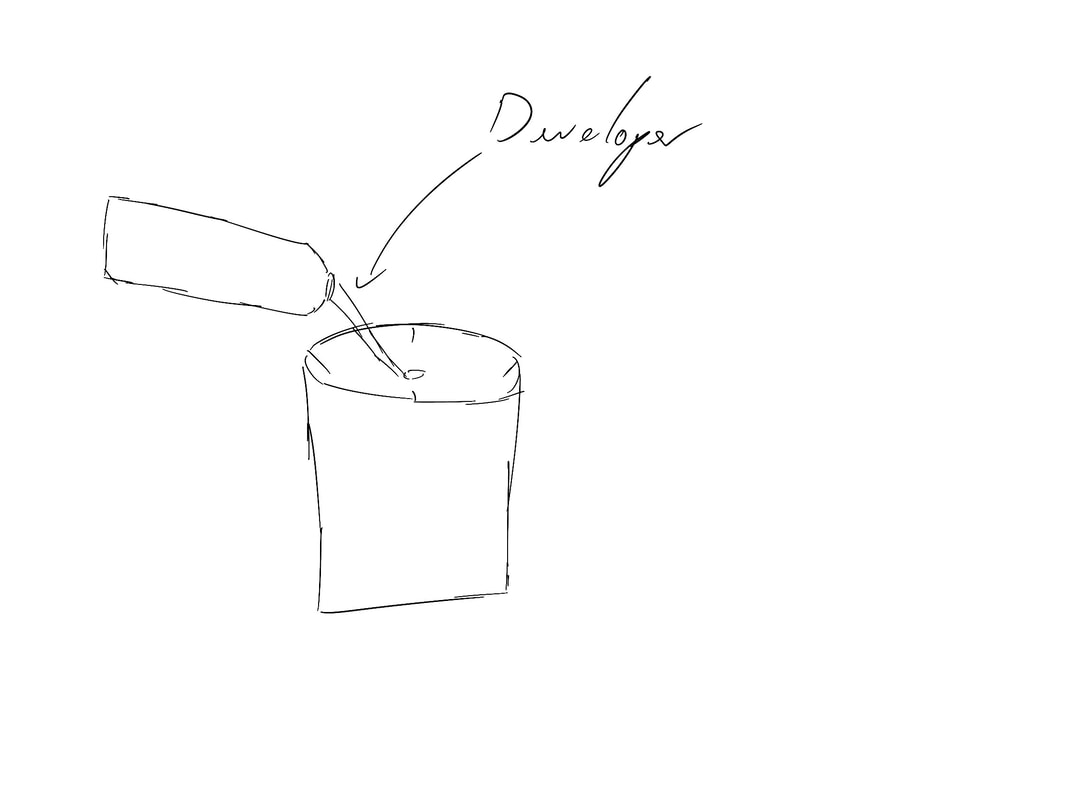

1.Firstly, the film would need to be removed and put onto the reel and put inside the tank. This would all need to be done in the dark so the film doesn't become exposed to the light, ruining the photos.
2.Secondly,the fixer would need to be poured into the ttank, correct to the amount of film and size of tank, and would need to be agitated for the specified time, should be included with the chemicals.
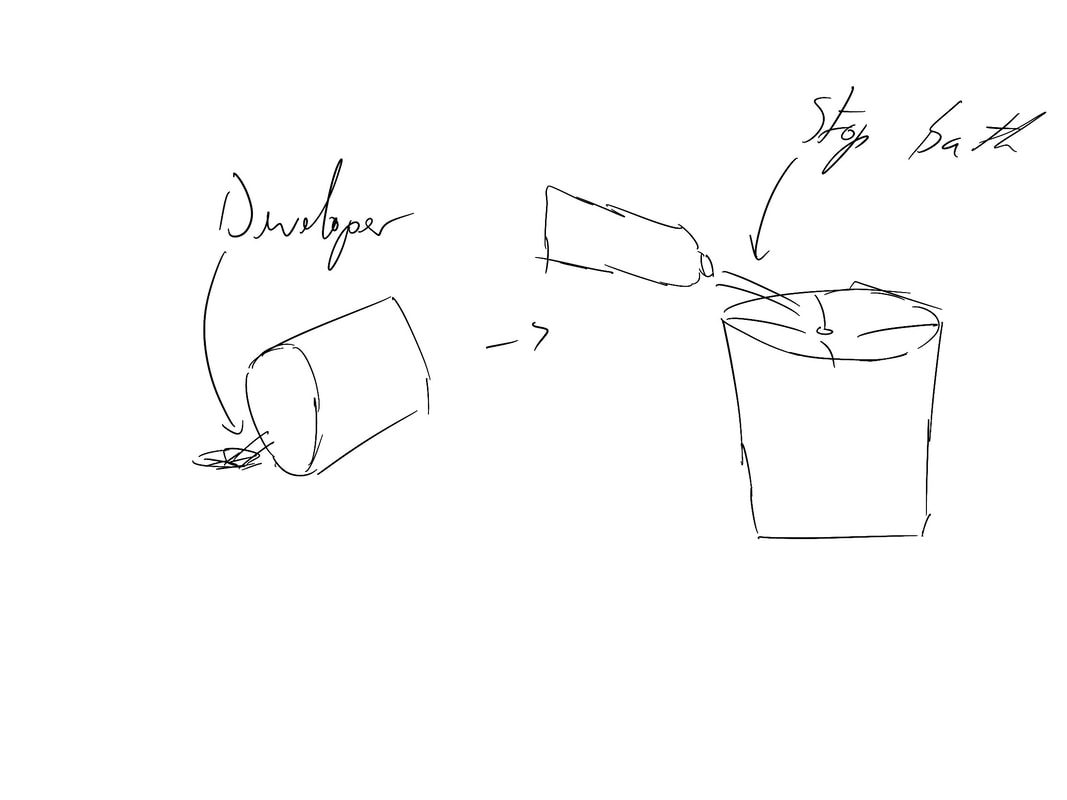
3.Thirdly, the developer would be washed out into a sink and then pour in the stop bath, again relative to the size of the tank and how much film is being developed. This would also be agitated for the specified times.
4.Then, the chemicals would be dumped out and the tank should be rinsed with warm water.
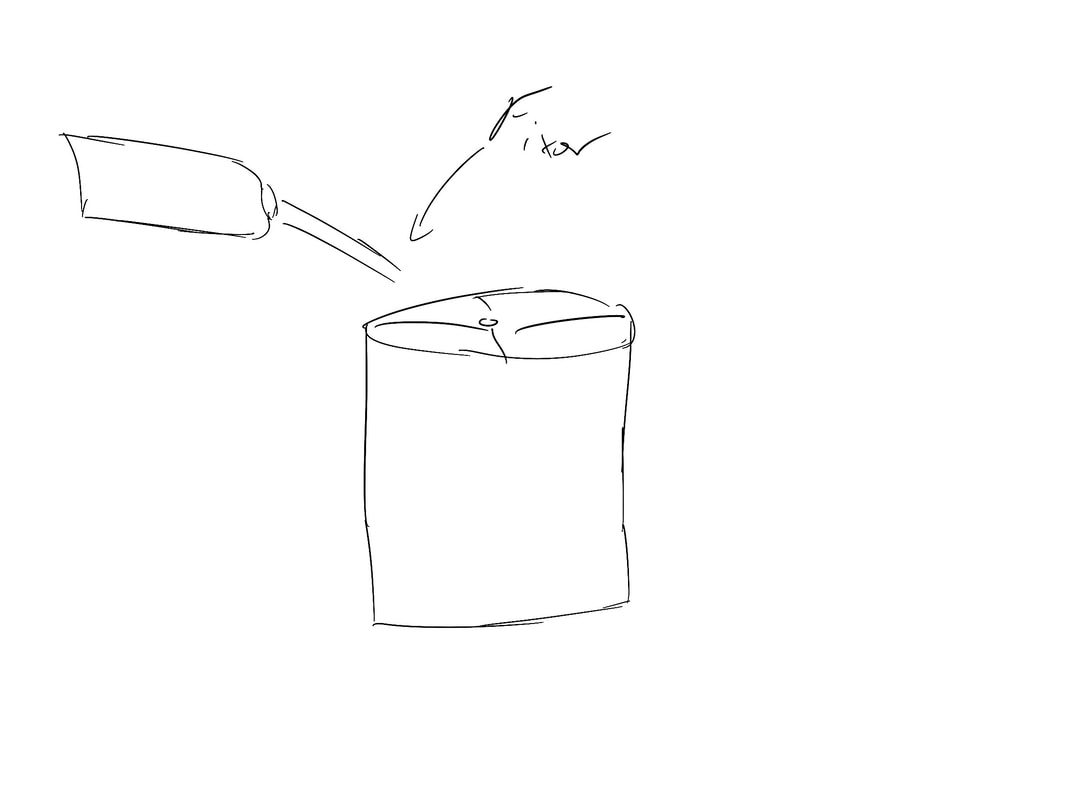
5.The fixer would be poured in and also agitated for specified times, once done this would be poured out too.
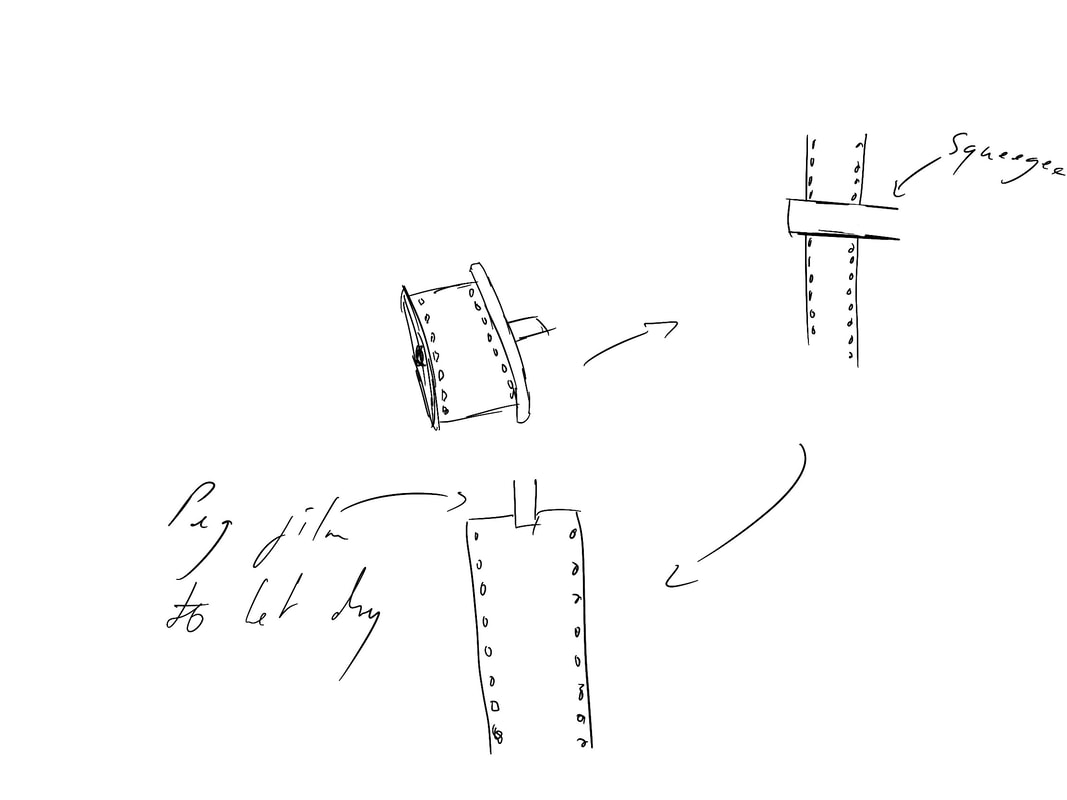
6.Finally, the film reel can be removed once the tank has been cleaned out with water. Then a squeegee would be used to remove any water that is left on the fil, then the film would be pegged up to dry.
2.Secondly,the fixer would need to be poured into the ttank, correct to the amount of film and size of tank, and would need to be agitated for the specified time, should be included with the chemicals.
3.Thirdly, the developer would be washed out into a sink and then pour in the stop bath, again relative to the size of the tank and how much film is being developed. This would also be agitated for the specified times.
4.Then, the chemicals would be dumped out and the tank should be rinsed with warm water.
5.The fixer would be poured in and also agitated for specified times, once done this would be poured out too.
6.Finally, the film reel can be removed once the tank has been cleaned out with water. Then a squeegee would be used to remove any water that is left on the fil, then the film would be pegged up to dry.
Pierre Cordier

Pierre Cordier was the pioneer of the chemigram. Chemigrams are photograms but using liquids such as fixer, water, varnish act to create a different interpretation of a photogram. These usually include more texture than usual photograms as he would spray them, drop them or pour them onto the sheet of photographic paper. At the start of his work he found it hard to be accepted by other artists, as photographers would name him a painter and painters would name him a photographer due to his inclusion of physicality within producing these pieces. He would sometimes use brushes to create shapes as shown in the first images above, but, because the is using photographic paper and using the process of developing he could also be considered as a photographer. Nevertheless, his work has been accepted in the public sphere more recently, during the time of when he would create them many people weren't too fond of his work as it was considered as too "peculiar" as he stated in an interview with Musee.
"The chemigram combines the physics of painting (varnish, wax, oil) with the chemistry of photography (light sensitive emulsion, developer, fixer), without use of camera, enlarger, and in broad daylight."
He made his first chemigram when in the military, making a birthday card to a German girl named Erica. He wrote "Happy 21st Erica" using nail polish on light sensitive paper. He wanted to have a black background so he dipped it in developing solution, he noticed that the varnish moved, creating his first chemigram.
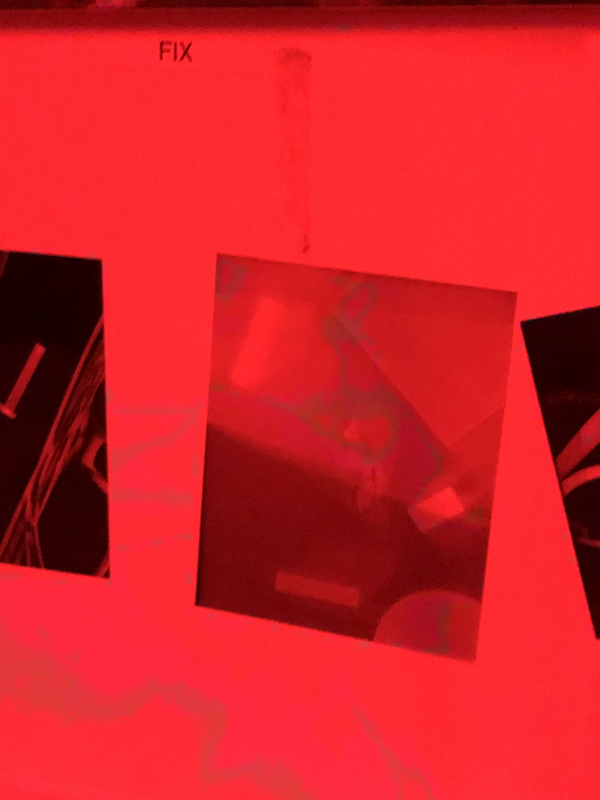
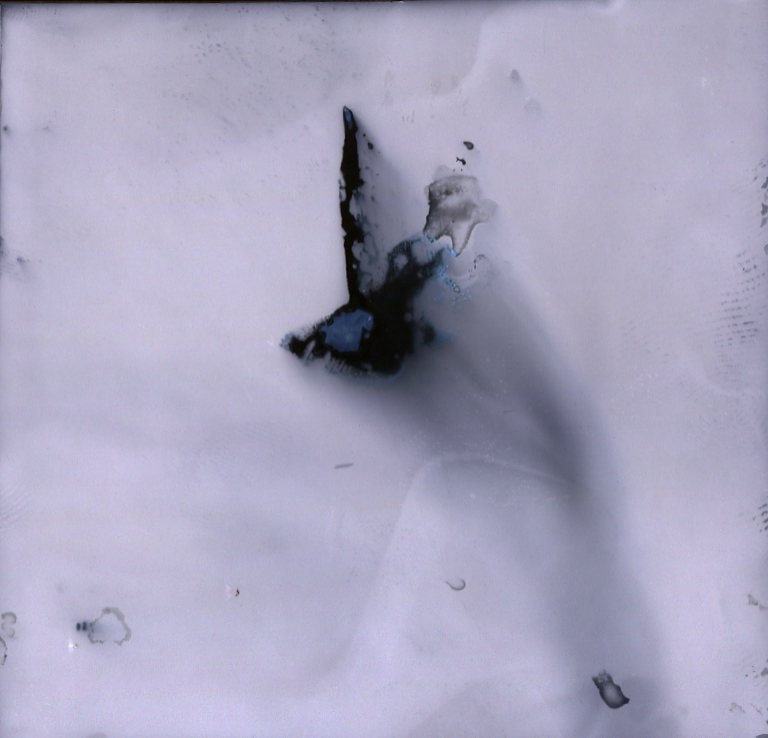
Chemigram
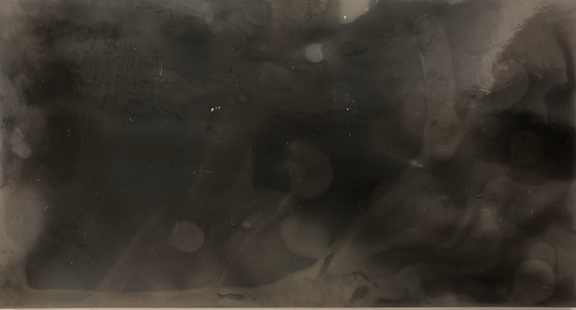
To make this chemigram I used light sensitive paper, as used when making a photogram, and poured water onto the edges of the paper and let it run off. Then I developed it in the darkroom which led to this chemigram. I believe that if I did this again I would use a combination of liquids to create different textures that make the chemigram itself more interesting visually. I would also use paint brushes and my hands to make different marks and shapes, so again it would make it more visually interesting.
Susan Derges
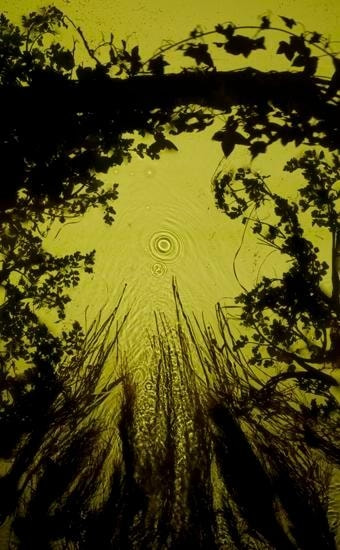

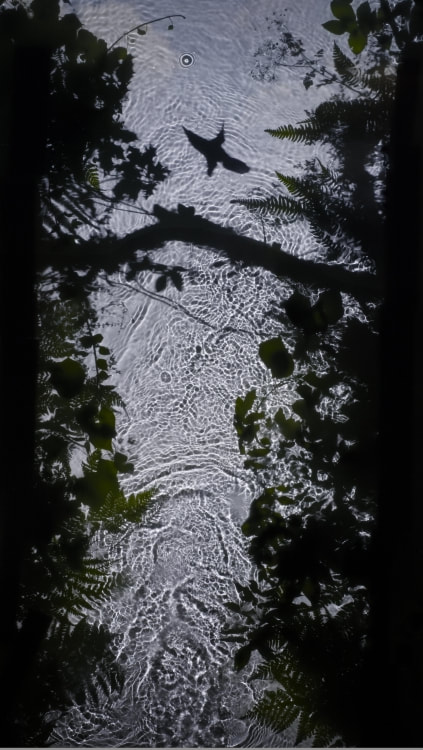
Susan Derges made her photograms by using water and nature itself. She would use the night as her darkroom so she would submerge light sensitive paper, many of the images include plants, water and organisms which show a connection between Derges and the surroundings in which she decides to create the images. She studied painting at Chelsea School of Art and the Slate School of Fine Art, this can explain the aesthetic of the photos as they almost seem like classical paintings. Her work uses visual metaphors that explore the relationship between the observer and the observed, also showing the movement of nature through water and the use of the moonlight instead of using sunlight or light from a man made light source.
Gary Fabian Miller
Gary Fabian Miller uses photograms to show a natural cycle of life through colour and also tranquility through the use of coloured photograms. He uses many different objects to achieve his desired look, for example, he uses glass vessels or cut paper which allows him to cast shadows onto the light sensitive paper allowing for interesting shapes. As seen in the first image he also uses objects to show a progression in life, in this case the progression of the leaf or leaves. He achieves colour in his photograms by using coloured light sensitive paper, creating the photogram normally then bleached the paper to eradicate a layer of the paper revealing the colour. This creates an interesting and visually striking image compared to many other photograms which are mainly in black and white. He sometimes uses large pieces of the light sensitive paper and cuts it into four, then creates an image into the centre of the four pieces of paper put back together.
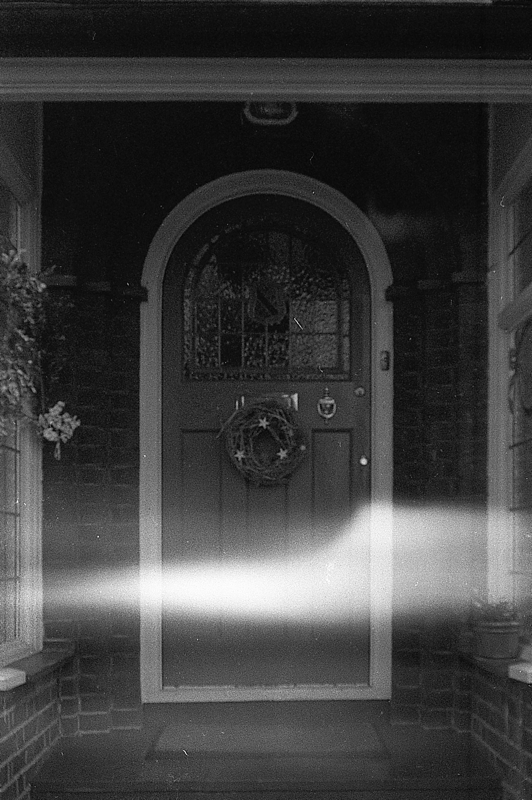
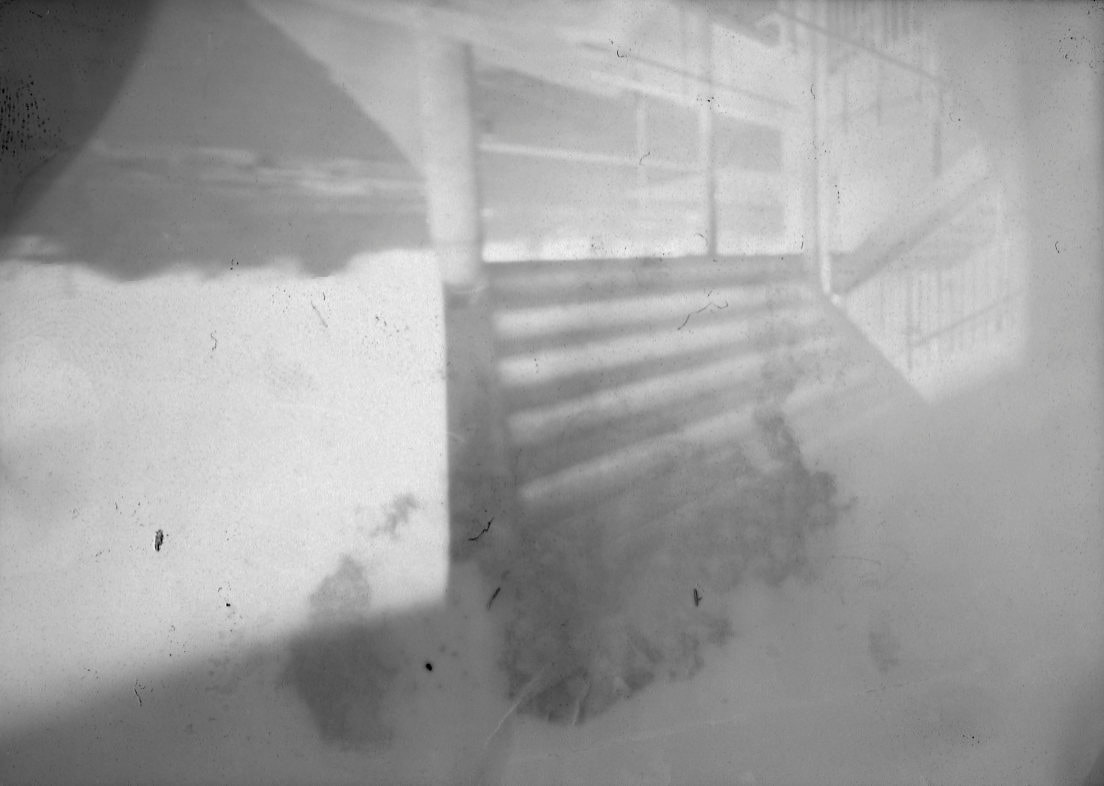
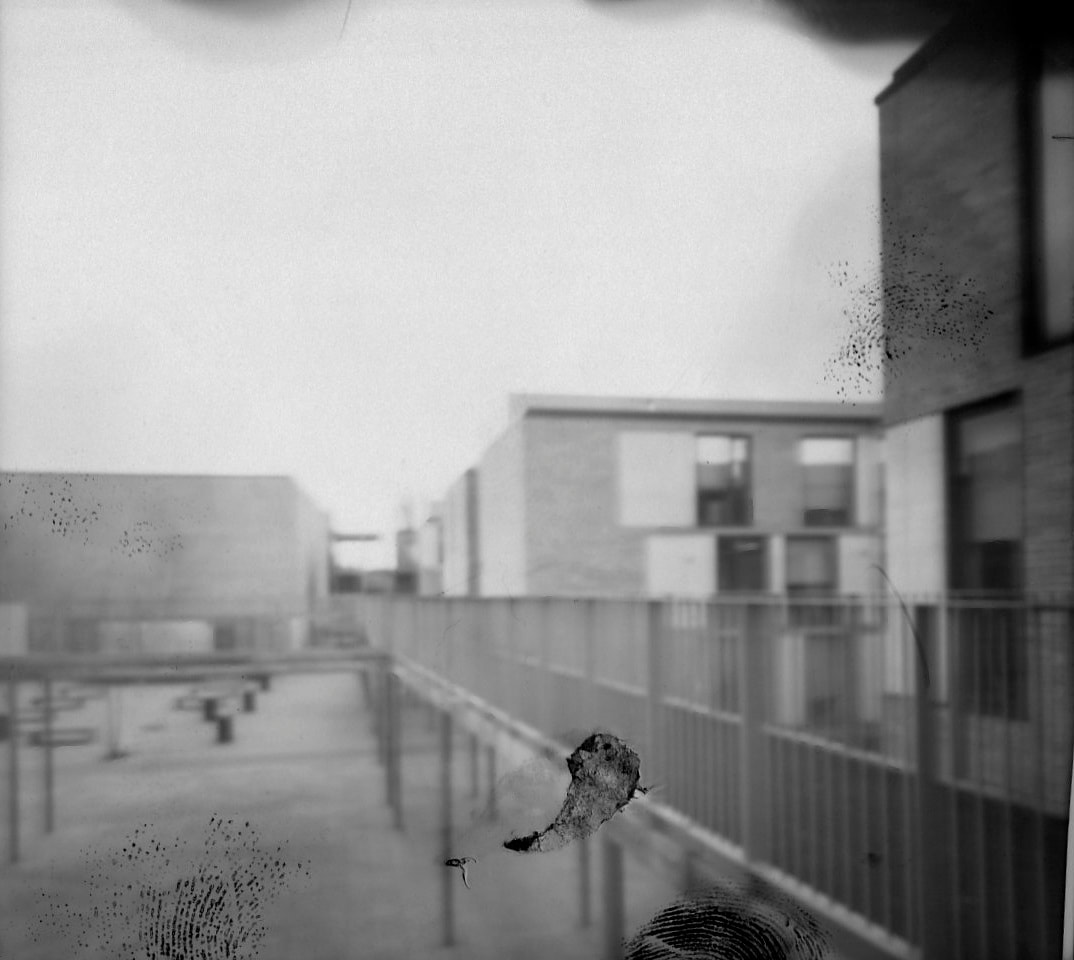
Pinhole Photography
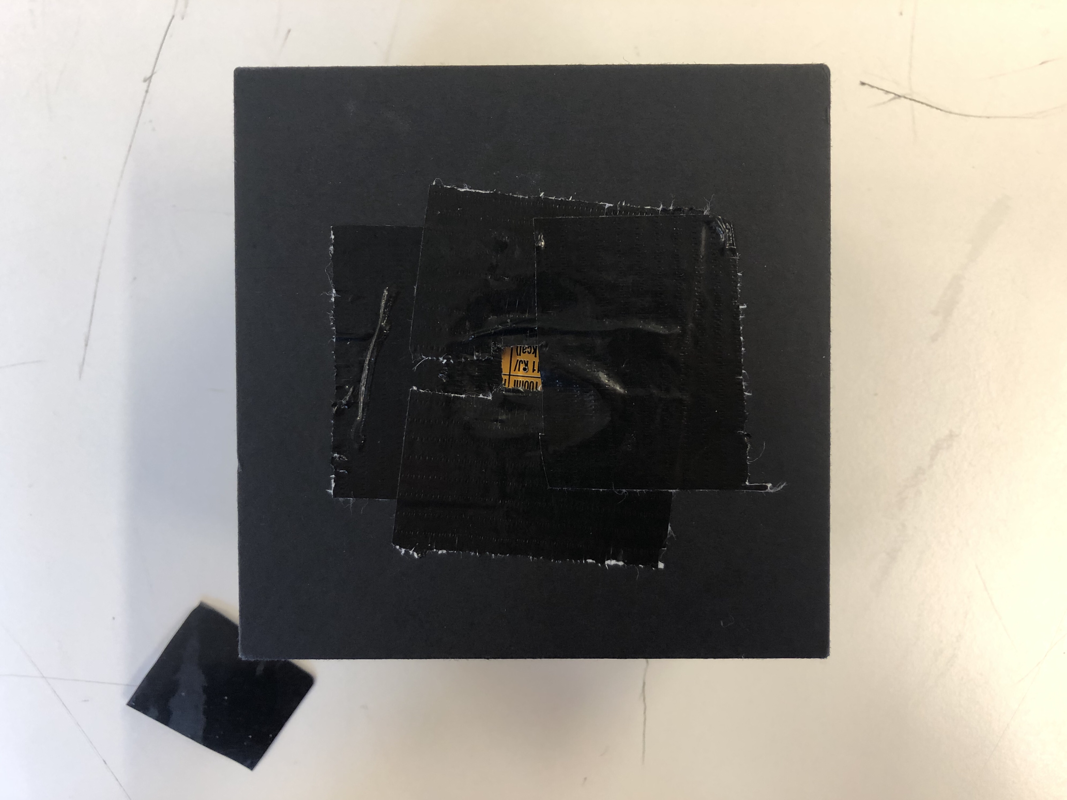
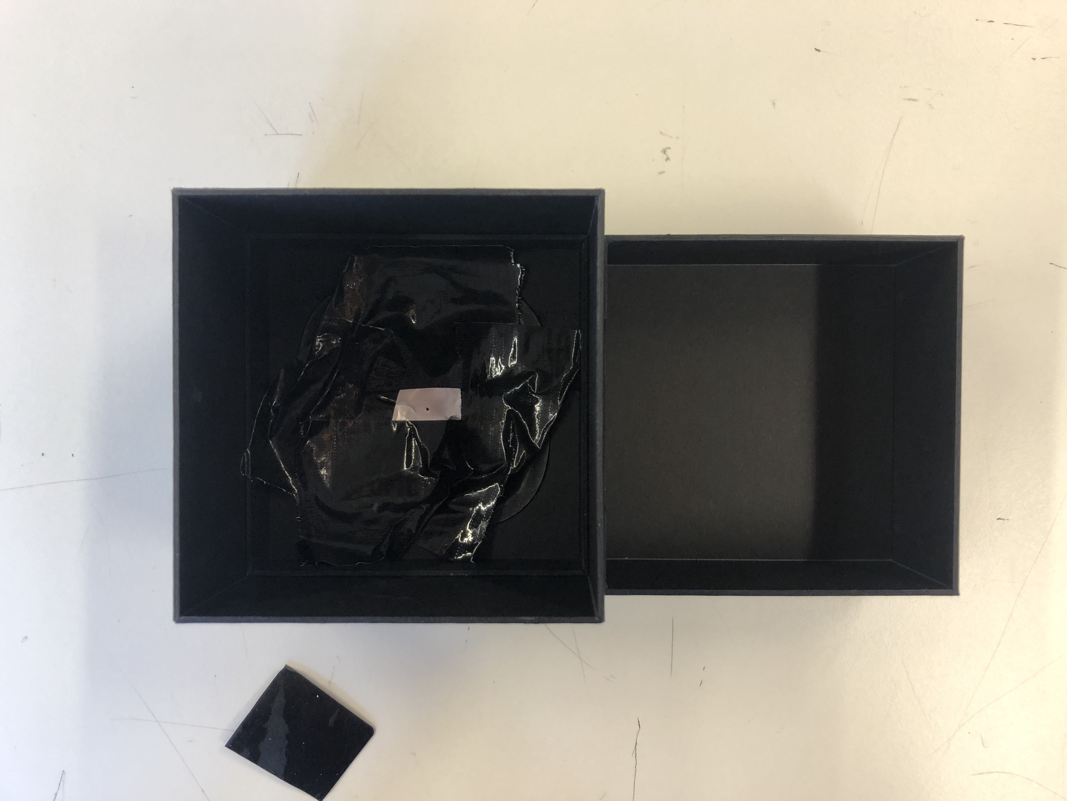
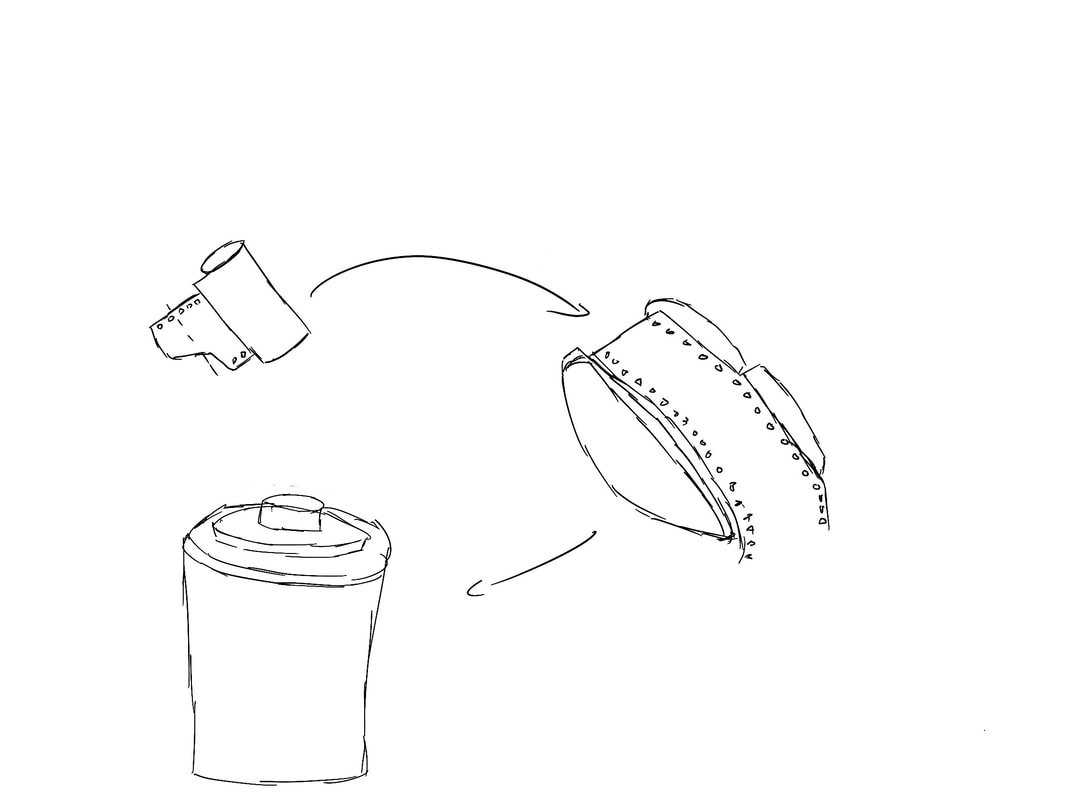
To make a pinhole camera the person making it has to have a container of any kind and also a piece of metal cut out from a can. The box on the inside has to be black, this can be done by either using black duct tape or spray paint. The front of the container has to have a hole or a cut out section where the part of the can will be placed. Then, the piece of the can would be punctured with a needle so then light can enter into the box, after that it would be taped on the inside of the box so then the hole is exposed through the part of the container that has been cut out. The camera would then need something to cover the hole when not in use, this can be done through using a bit of tape or taping some cardboard to it and revealing the lens when in use. To take the photo itself, on the inside of the box you would place a piece of light sensitive paper to of course absorb the light, this would be done in the darkroom. Once the paper has been placed, the user of the camera would go to the location of where they would like to take the photo and take off the flap which covers the lens, the exposure time can vary depending on the lighting so anywhere from 10-20 seconds would usually work. For my camera I used a black box so then I wouldn't have to tape or spray paint the inside of the box, however, inside the box there is a curve where the piece of metal would go so sometimes it would become unstuck from the box of the lens would move. For the first 3 photos I exposed the paper for 15 seconds and the last 2 I exposed for 10, only one was successful and I'm guessing its because of the lens or because of the developer being sometimes dirty.
Double Exposure
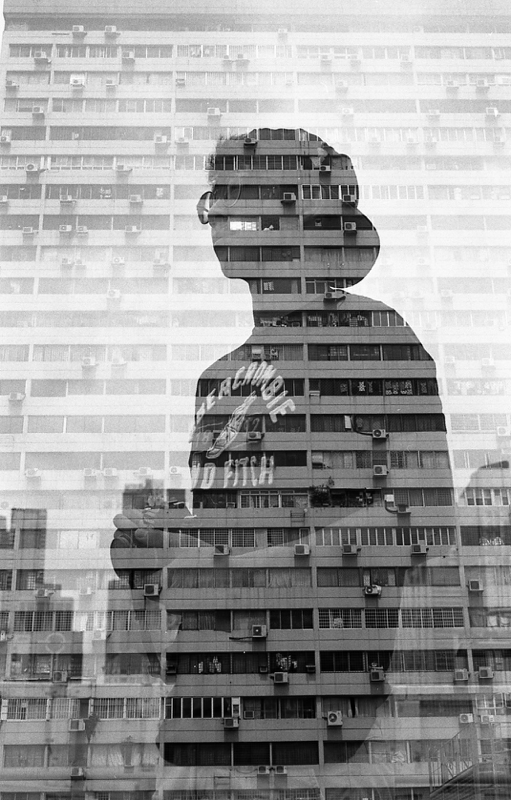
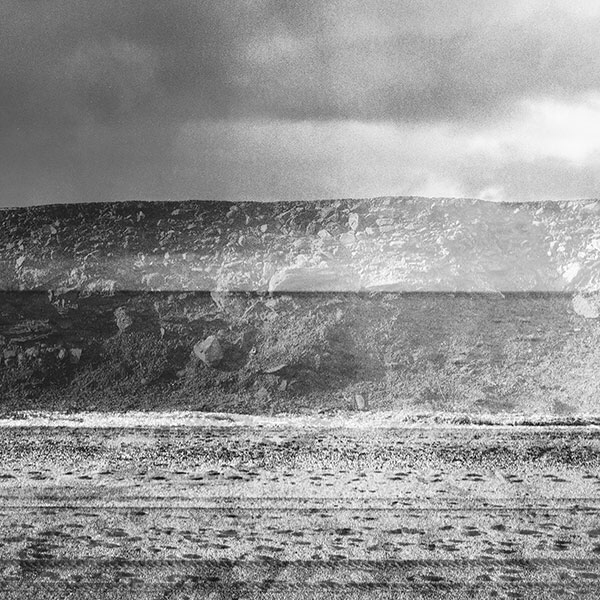
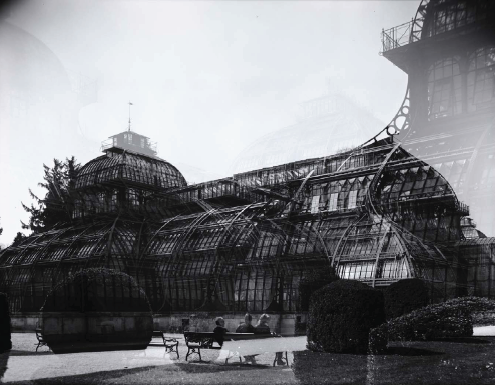
Double exposures is a technique used in film photography which creates an image composed of two photos taken on the same rolL of film. This can be done by using the whole roll of film and then reloading it into the camera, or using the whole roll then rewinding it into the camera to where it would’ve been when originally put in. This technique is most successful with black and white film as the white on the original photo can leave space of some sort for the next photo as it isn’t as exposed, it is also better as the photographer ant overexpose it as much as a roll of colour film.
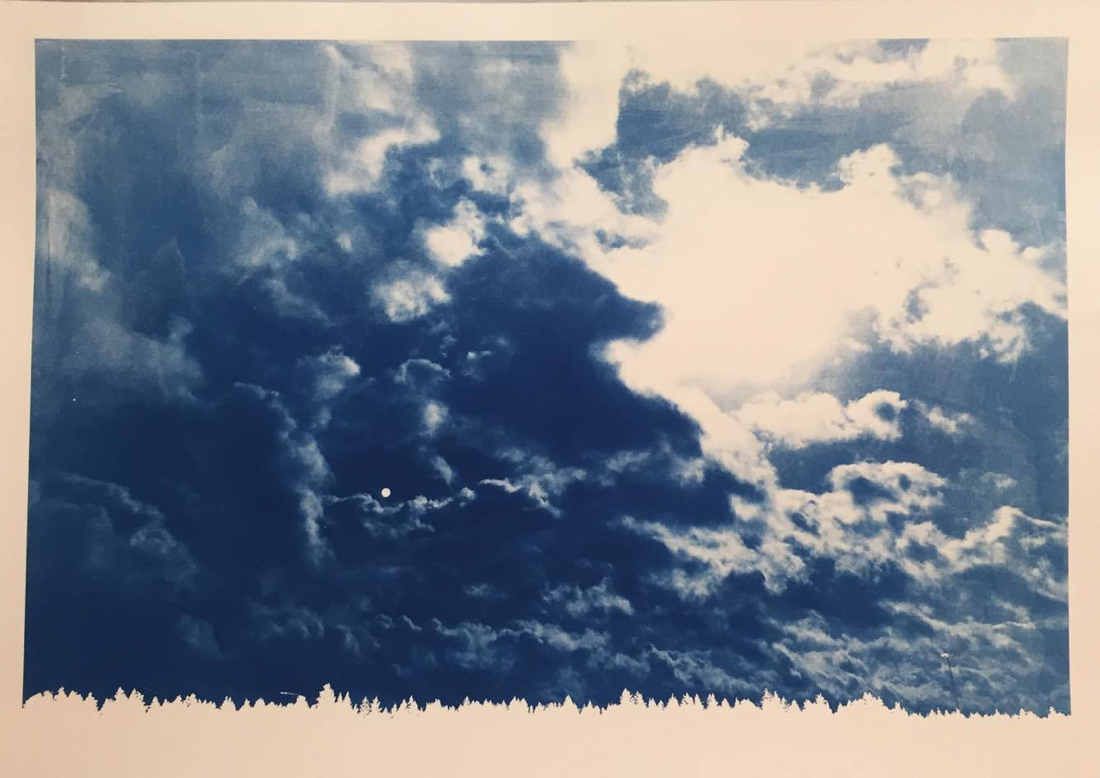
Cyanotypes
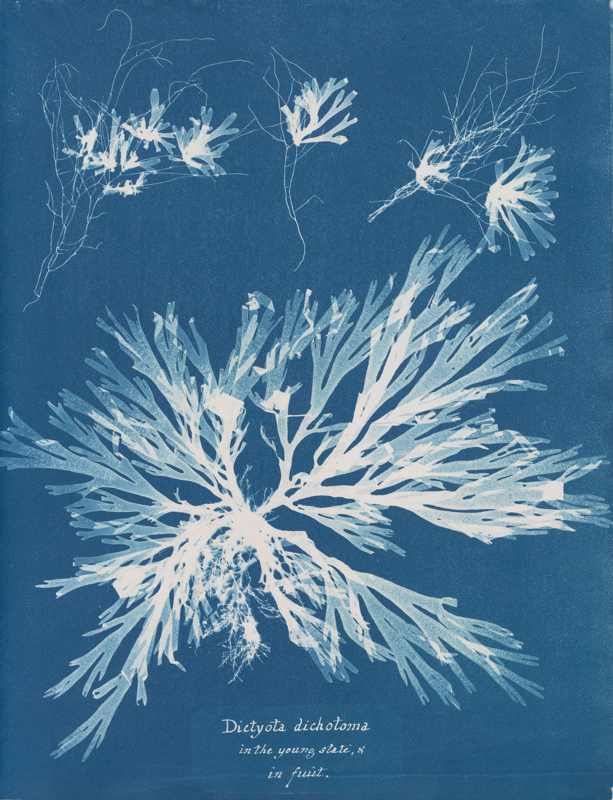
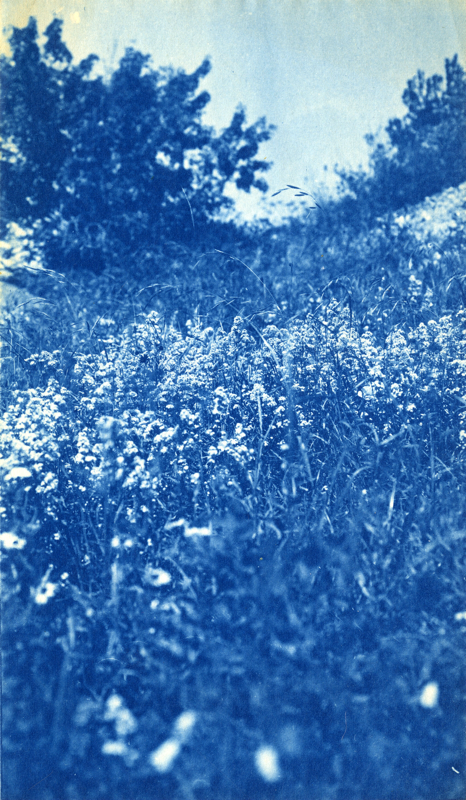

Cyanotypes are made with 2 solutions, Ferric ammonium citrate and Potassium ferricyanide. These two solutions are mixed together to be brushed onto the selected canvas. The canvas can be paper, card, textiles or any natural material that can be used to print on. Once the solution has been brushed onto the canvas, a negative would be placed onto it or an object, then it would be sandwiched so the it doesn’t move. Typically it would then be placed in natural sunlight for multiple hours, however it can also be done with UV light. It would then be washed in cold water for around 5 minutes and would be hung to dry. This technique of photography has been used for hundreds of years, pioneered by Anna Atkins’ book Photographs of British Algæ: Cyanotype Impressions, which are photographs of algae as suggested by the title. However in recent times it has become more common to use negatives rather than objects, mainly because negatives and 35mm film cameras weren’t invented in the time Anna Atkins was curating her book.
